A 230V photosensor is commonly used to automatically control outdoor lights by detecting ambient light levels. If you have a broken or unused photosensor, you can extract valuable components to reuse in other projects. This guide will walk you through the steps to safely disassemble a photosensor and salvage its components. We’ll also give you some ideas for projects where these components can be useful.

Safety First!
Before starting, ensure that the photosensor is unplugged from any power source and has not been connected to mains electricity recently. Capacitors can hold charge for some time after disconnection, so always be cautious.
Materials Needed with eBay Links
Step-by-Step Guide to Harvesting Components
Step 1: Open the Casing
Use a flat-head screwdriver to carefully pry open the casing of the photosensor. Most photosensors have a plastic housing that’s either screwed or clipped together.


Step 2: Identify Key Components
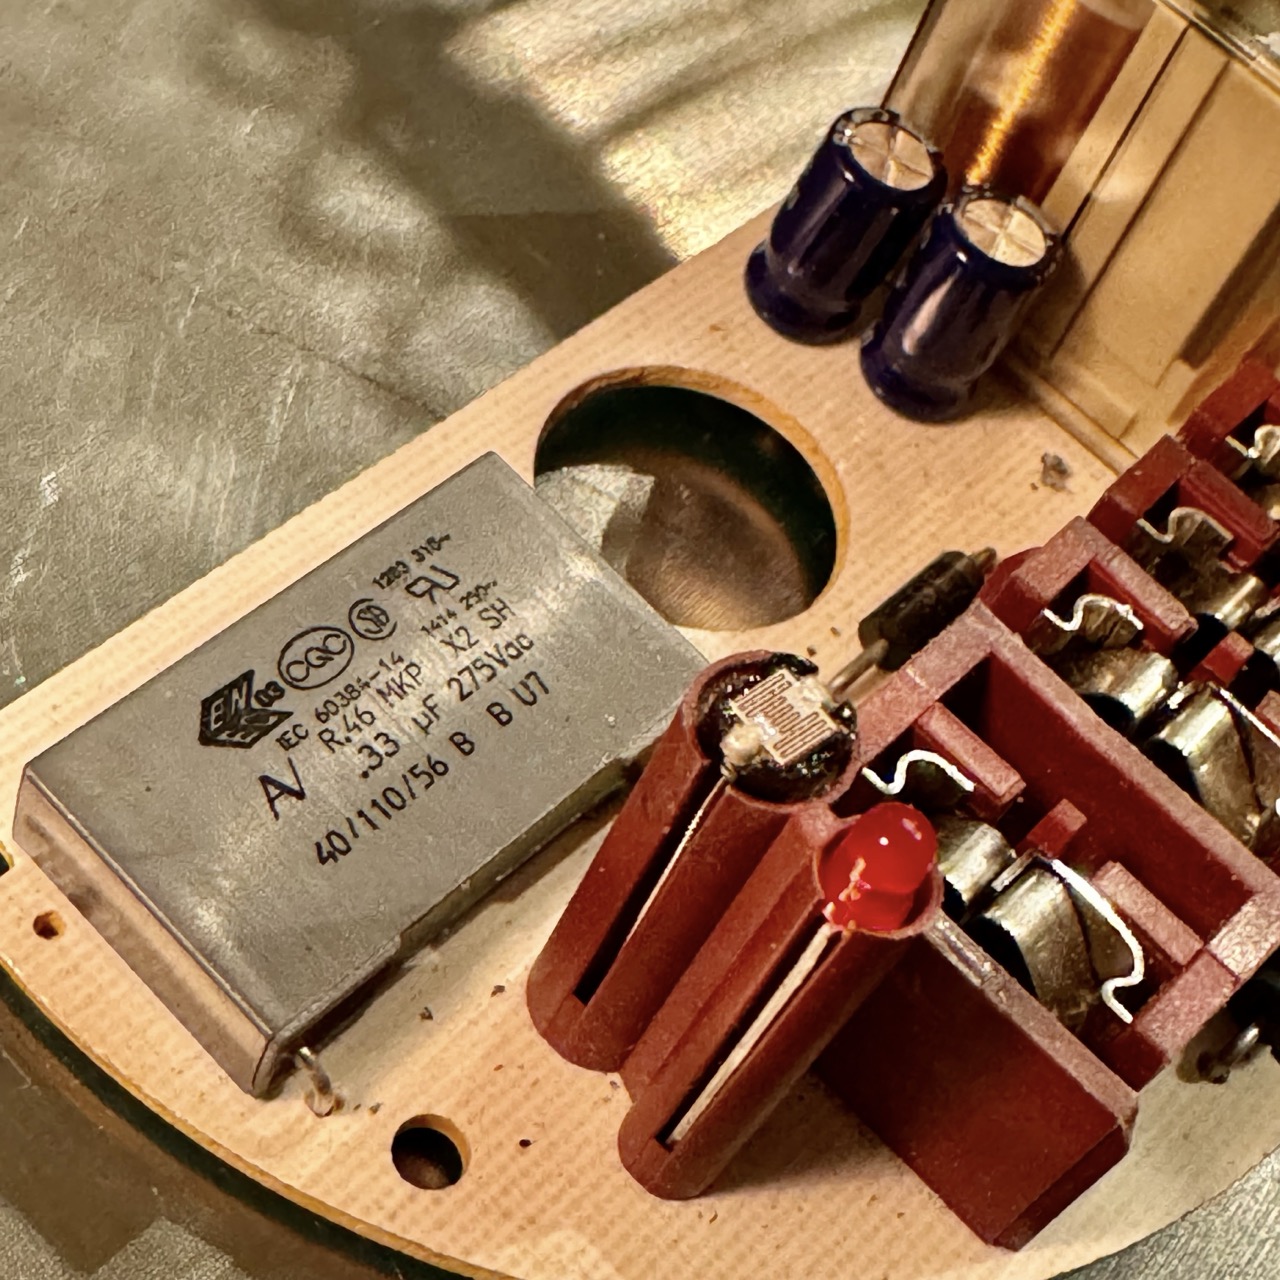
Inside, you'll typically find several useful components such as:
- Light-dependent resistor (LDR): Used to detect ambient light levels.
- Relay: Used to switch high voltage loads.
- Capacitors: Filter and store energy.
- Resistors: Control current flow.
- Transistor or MOSFET: Controls electrical signals.
- Diodes: Ensure current flows in one direction.

Step 3: Locate and Desolder the Photoresistor
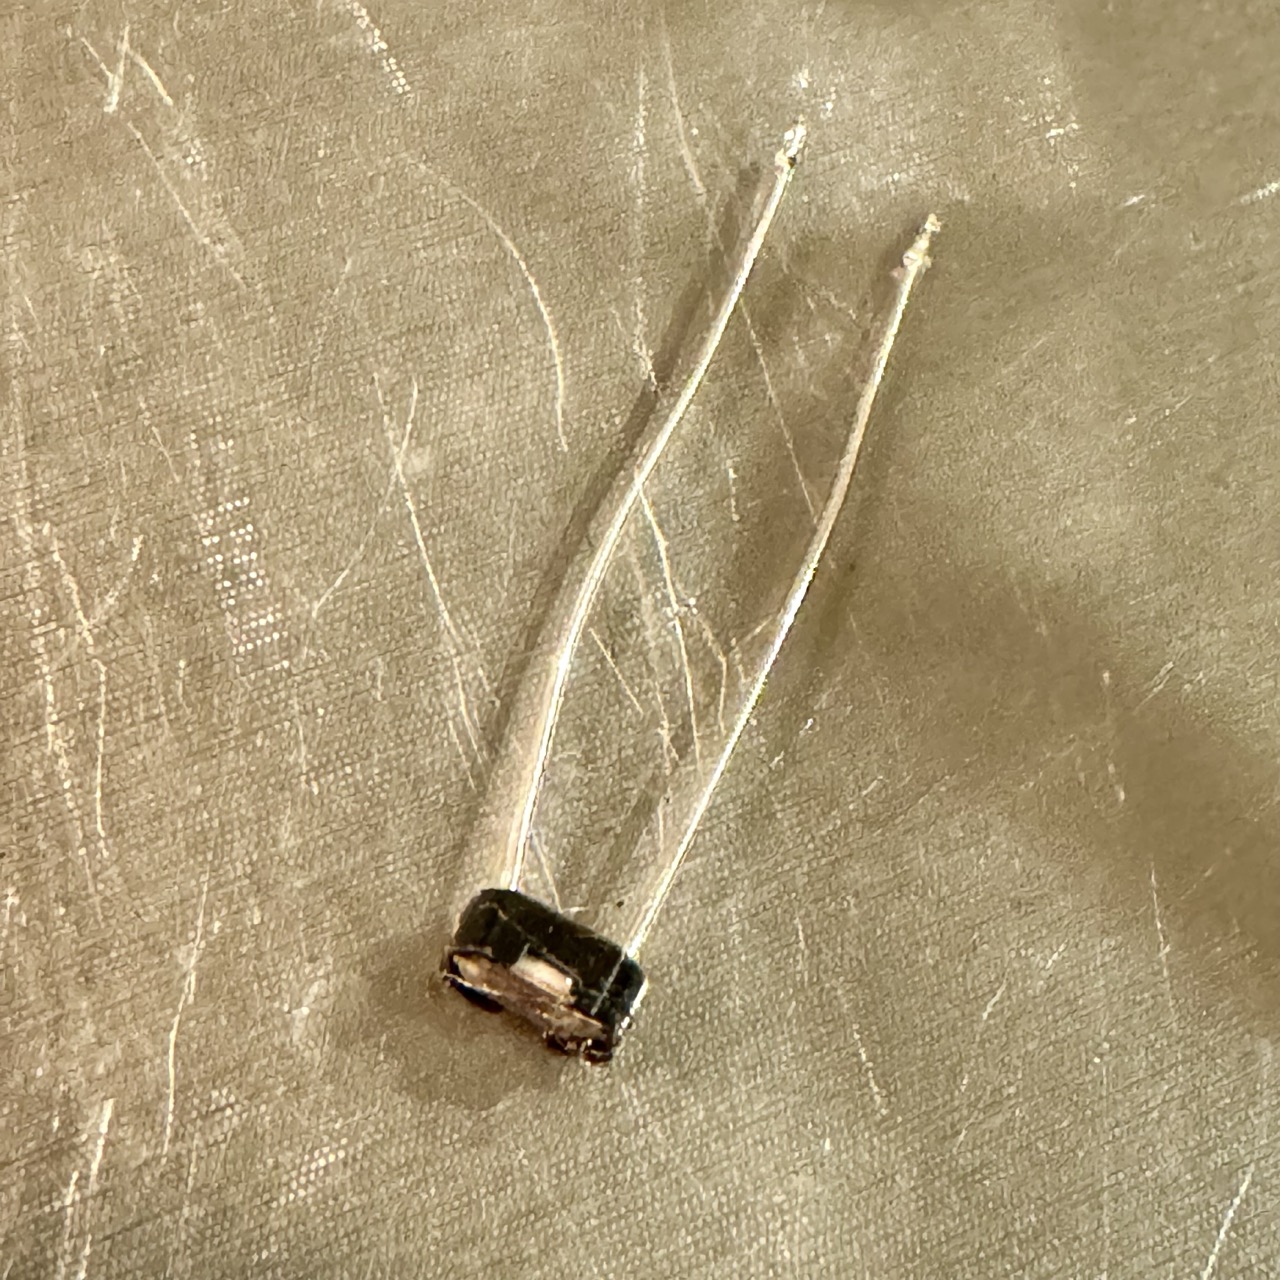
Inside, you’ll find the light-dependent resistor (LDR). It typically looks like a small, disk-shaped component with two leads soldered to the PCB. To remove it:

- Use a soldering iron to carefully heat the solder joints connecting the LDR’s leads to the PCB.
- Once the solder is molten, gently pull the LDR from the board while ensuring the leads remain intact.
- If needed, use a desoldering pump or wick to clean up excess solder for easier removal.

Step 4: Test the Photoresistor
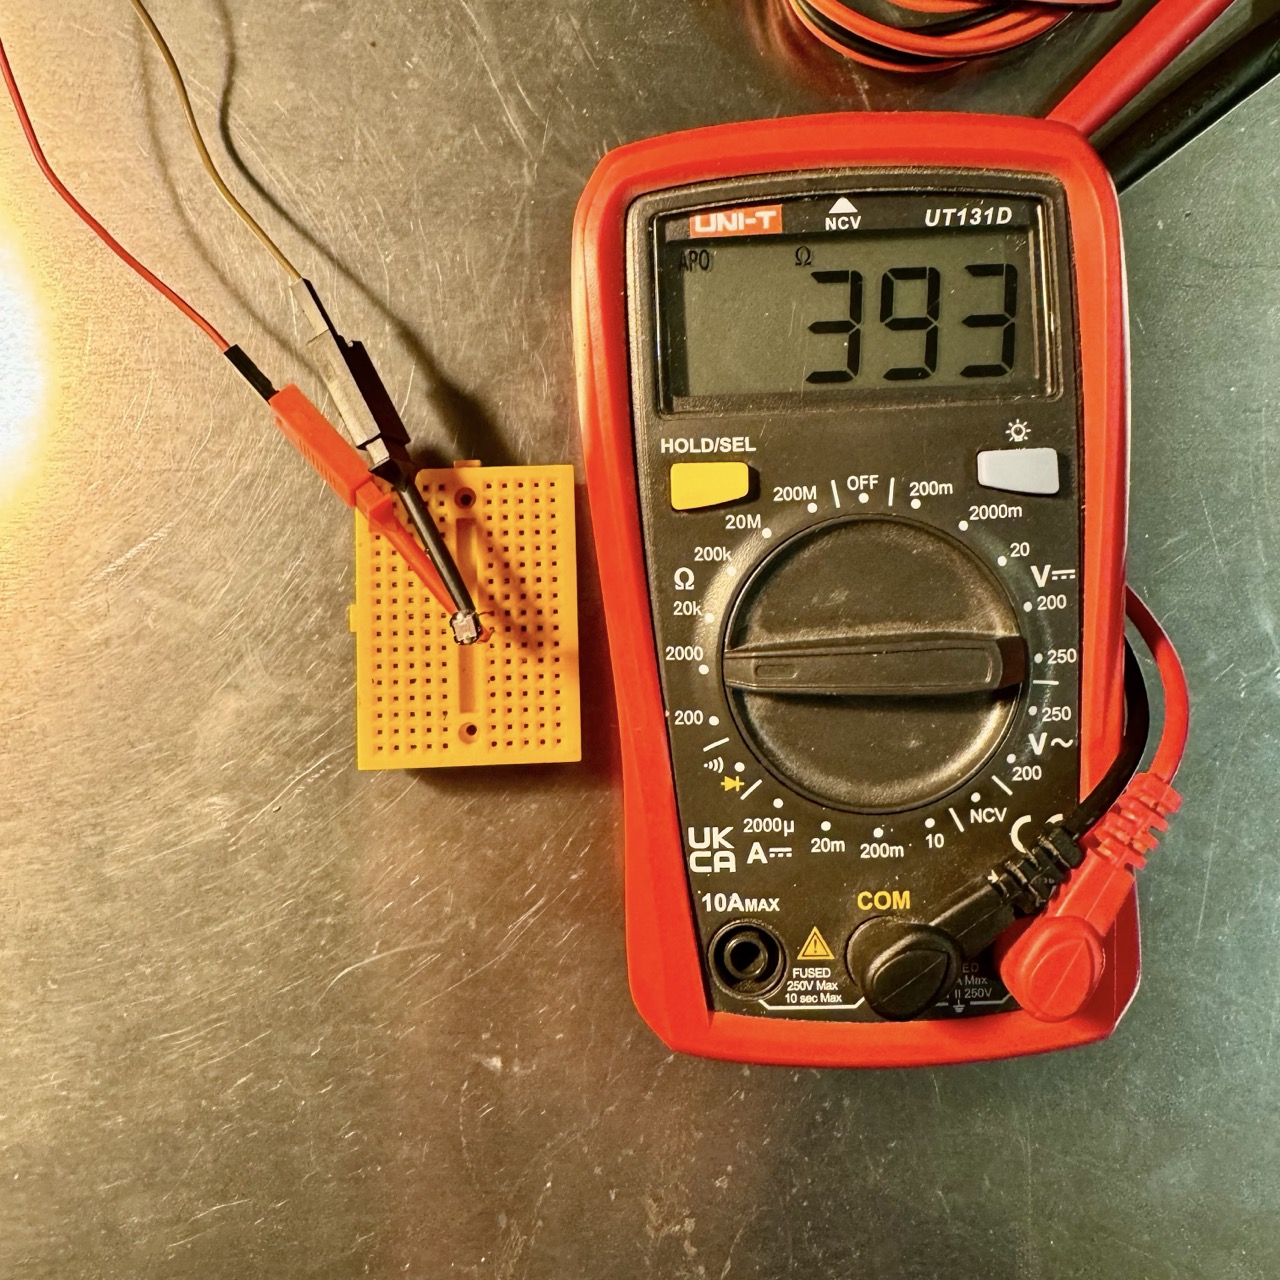
Use a multimeter set to resistance mode (Ω) to measure the LDR’s resistance. Follow these steps:

- Connect the multimeter probes to the two leads of the LDR.
- Measure its resistance in a well-lit environment. It should show a lower resistance value (typically in the range of hundreds to a few thousand ohms).
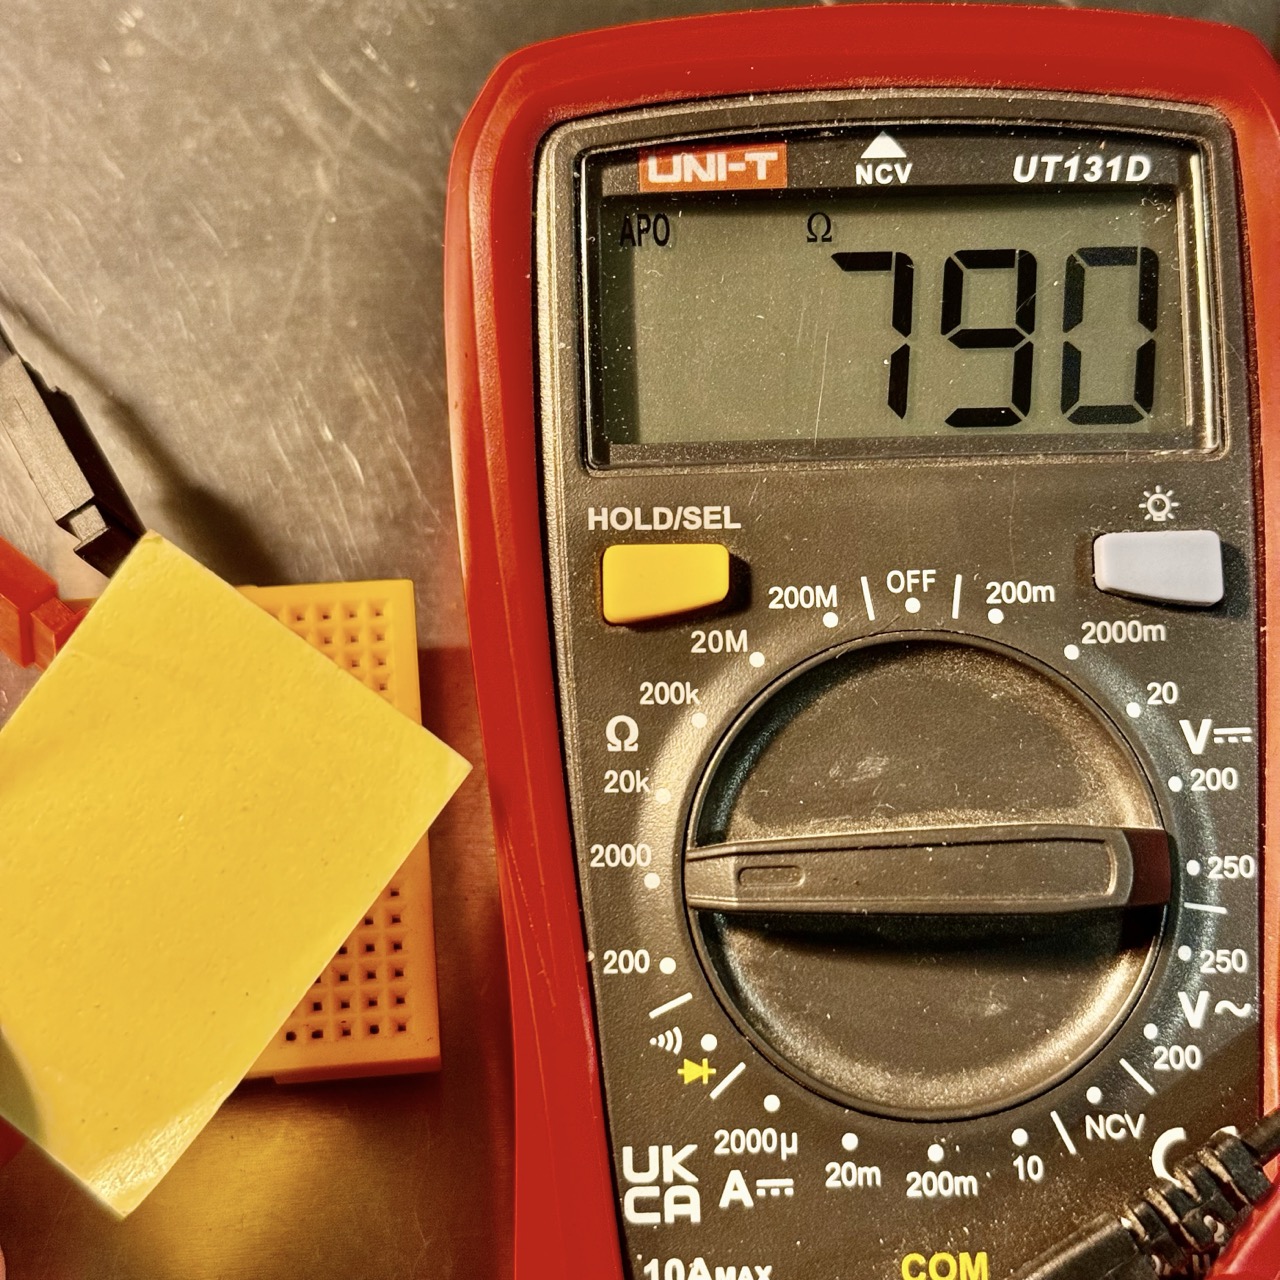
- Cover the LDR to simulate darkness and measure again. Its resistance should increase significantly (typically in the range of several kilo-ohms to mega-ohms).

Step 5: Store and Label Components
Once you’ve removed all reusable components, store them in a labeled container for future projects. Keep track of each part's specifications, such as the relay's voltage and current ratings or the capacitor's capacitance and voltage rating.
Top 10 Project Ideas Using Salvaged Components
Here are 10 creative project ideas where you can reuse the components you harvested:
- Automatic Night Light – Use the LDR and relay to build a circuit that automatically turns on an LED when it gets dark.
- Light Sensor Switch – Create a light-sensitive switch to control low-power devices or alarms.
- Smart Garden Irrigation – Use the relay to control a water pump, activating it based on light levels or a timer.
- Solar Battery Charger – Incorporate the capacitors and diodes into a circuit for charging small solar-powered devices.
- Temperature Sensor Fan – Combine a salvaged transistor with a temperature sensor to control a fan for cooling.
- Low-Power Security Light – Use the relay and LDR to trigger a light when it detects motion and darkness.
- Energy Monitor – Build a simple energy consumption monitor using the photosensor components.
- Time-Lapse Photography Controller – Use the relay to automate the capture of photos based on lighting conditions.
- Arduino Light Sensor Module – Connect the LDR to an Arduino to build a light sensor module for various IoT projects.
- DC Motor Control – Utilize the relay to control the operation of a small DC motor in a robotics project.
Conclusion
By harvesting components from a 230V photosensor, you not only save money but also give old electronics a new life. These simple yet powerful components can be reused in various DIY projects, offering you countless creative possibilities. Happy tinkering!
