Introduction
Difficulty Level: Beginner
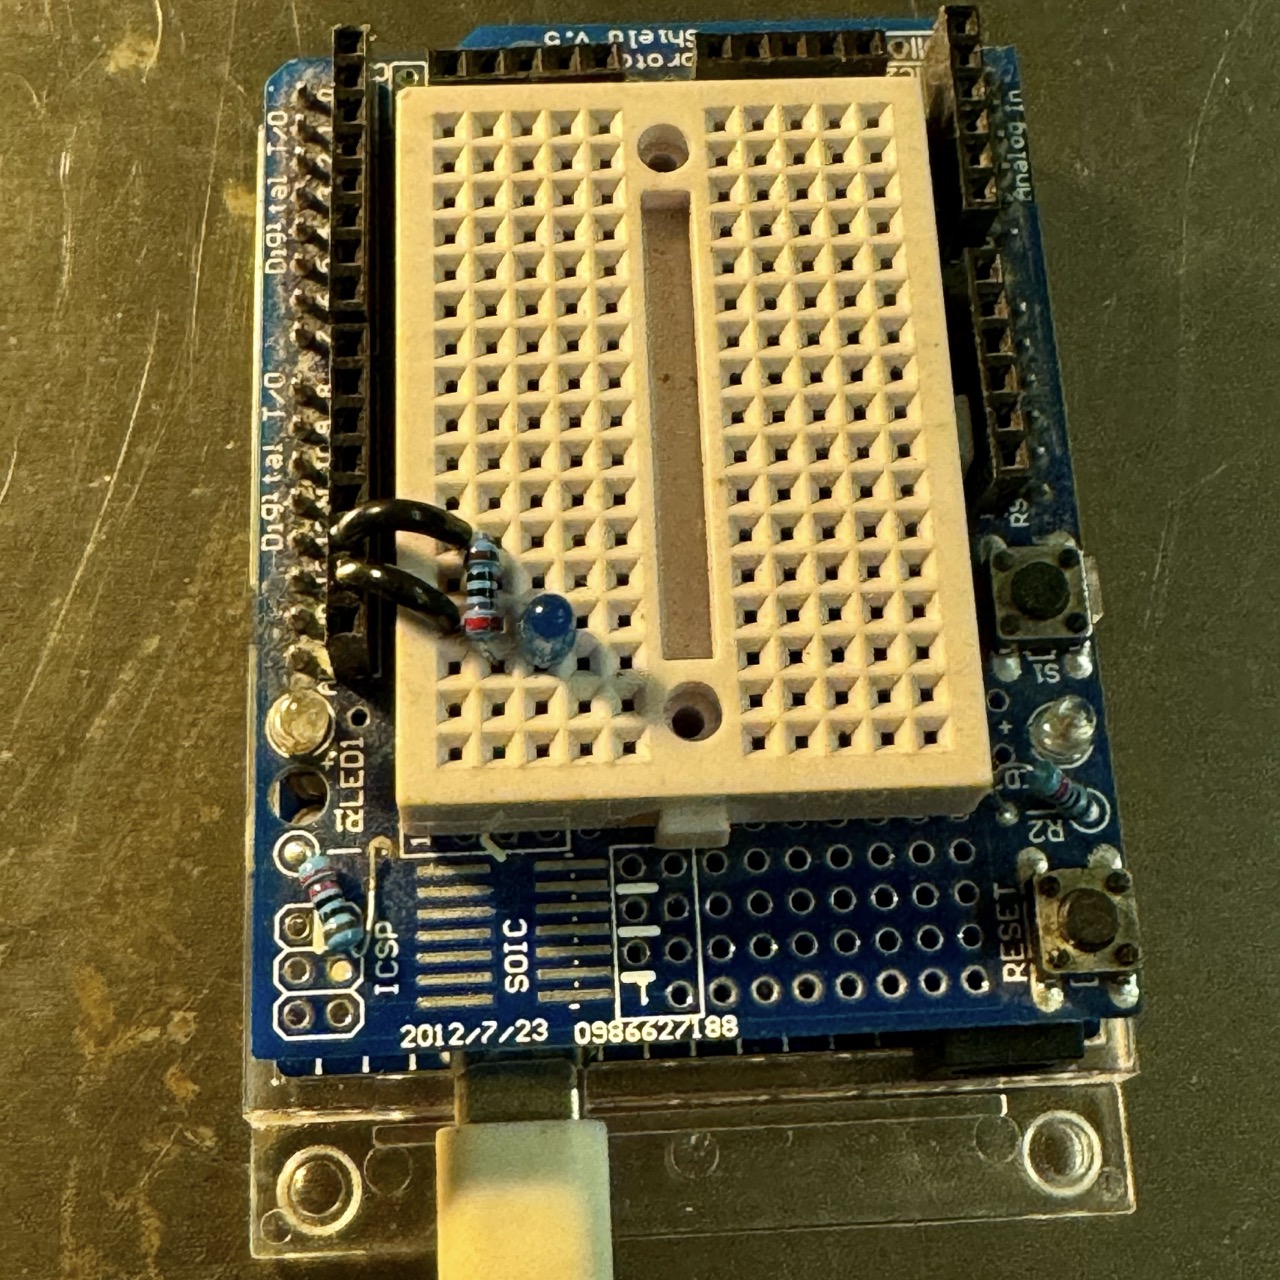
In this tutorial, you’ll learn how to blink an external LED connected to an Arduino Minima R4. This experiment introduces basic wiring, coding principles, and troubleshooting techniques for Arduino beginners.
No Ads Available.
Needed Components with eBay Links
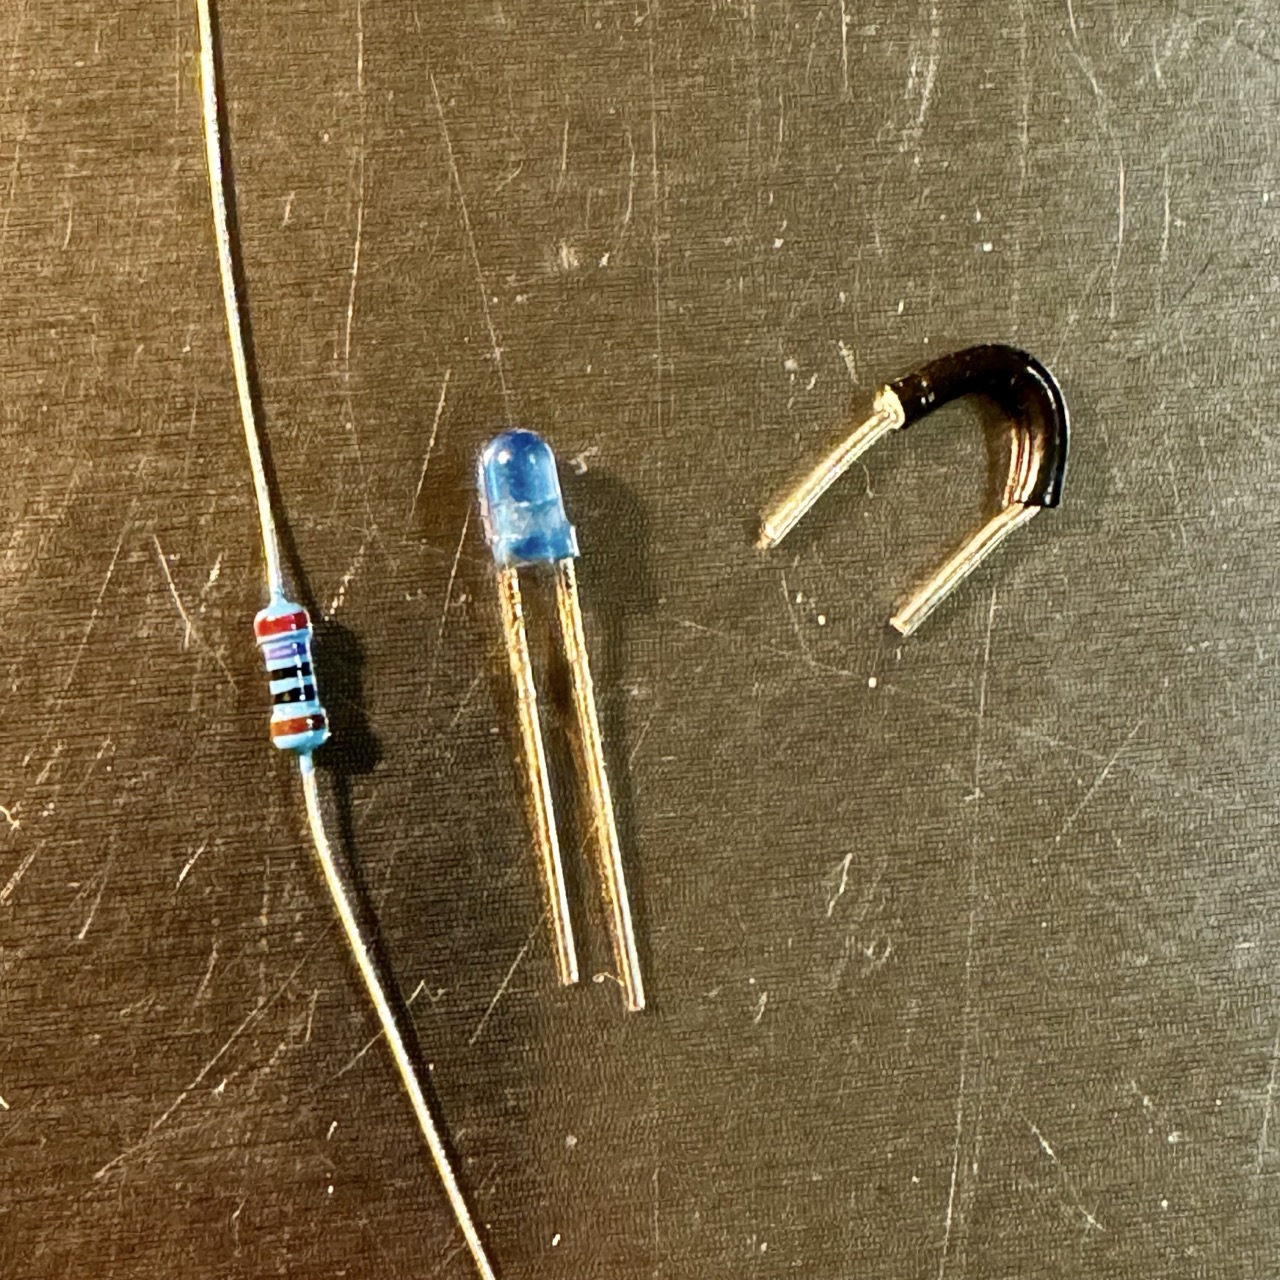
- 1 x Arduino R4 Minima
- 1 x 3mm Blue LED
- 1 x Resistor (270Ω 1/4W)
- 1 x Arduino Breadboard Shield
- Jumper cables
- USB-C Cable
Wiring for External LED
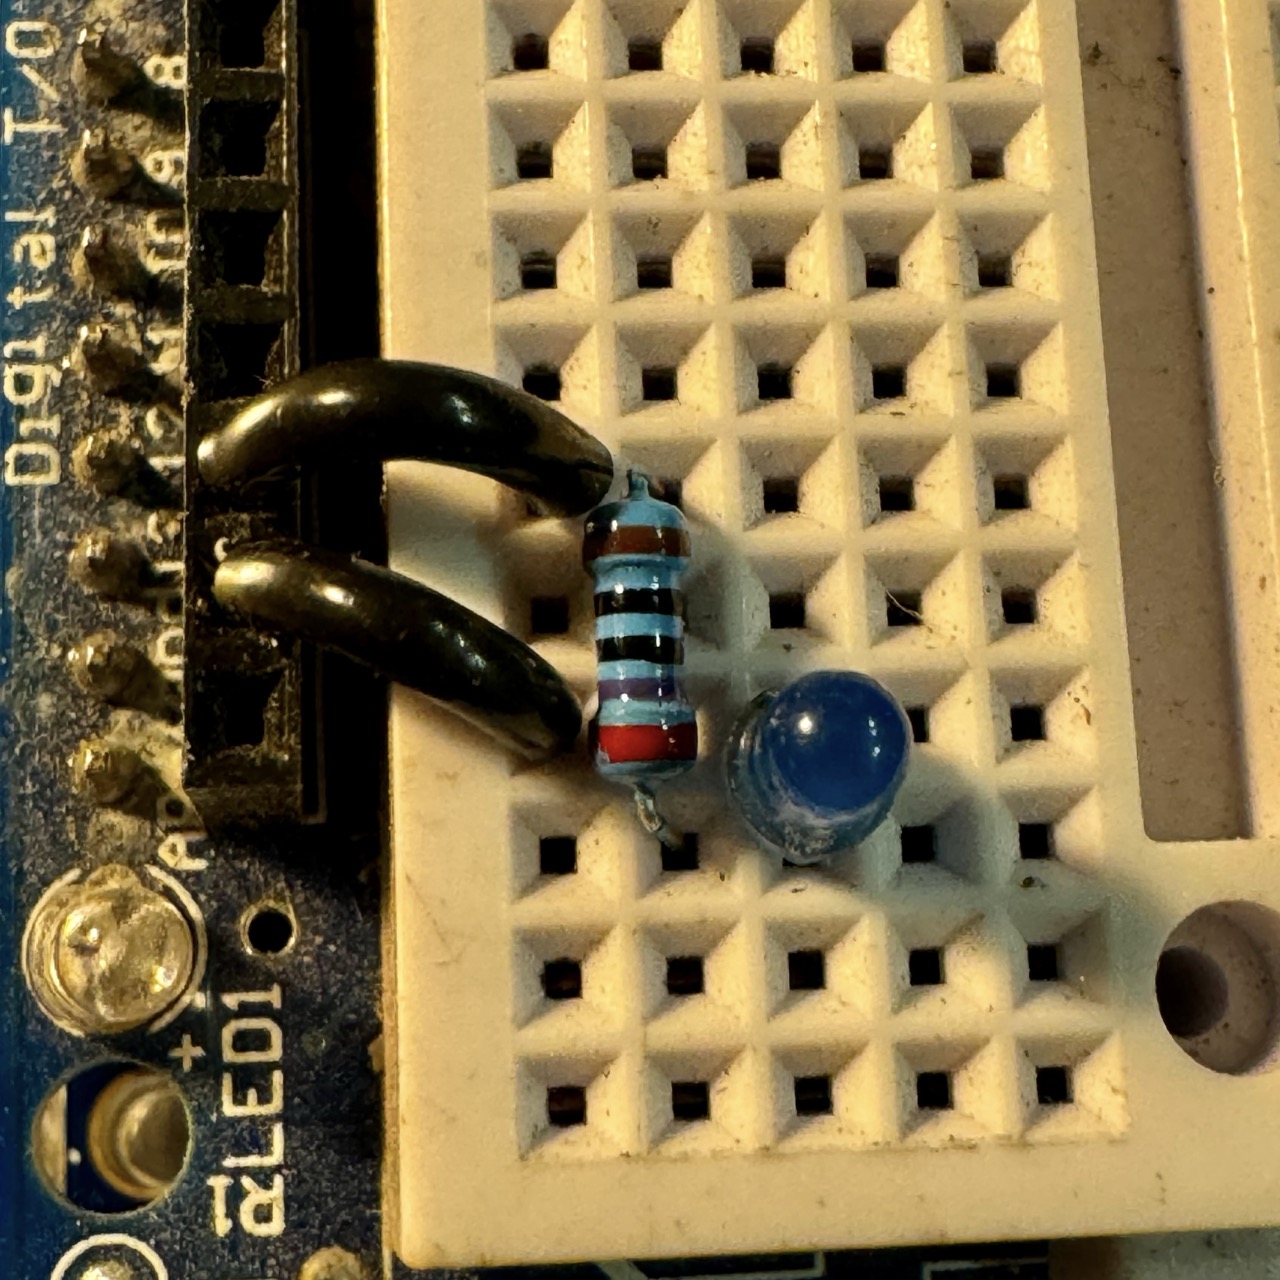
To set up the LED on the breadboard shield, follow these steps:
- Insert the 270Ω resistor into the breadboard shield, connecting one end to pin 13 of the Arduino.
- Connect the long leg (anode) of the LED to the other end of the resistor.
- Connect the short leg (cathode) of the LED to a ground (GND) pin on the Arduino.
Arduino Code
Below is the code to make the external LED blink every second:
// Blink External LED on Arduino Minima R4

void setup() {
  pinMode(13, OUTPUT); // Initialize pin 13 as an output for the LED
}

void loop() {
  digitalWrite(13, HIGH); // Turn the LED on
  delay(1000); // Wait for one second

  digitalWrite(13, LOW); // Turn the LED off
  delay(1000); // Wait for one second
}
Upload and Test
- Connect the Arduino Minima R4 to your PC using the USB cable.
- Open the Arduino IDE and paste the code above into the editor.
- Select "Arduino Minima R4" as the board type and choose the correct port.
- Click the upload button to load the code onto the Arduino.
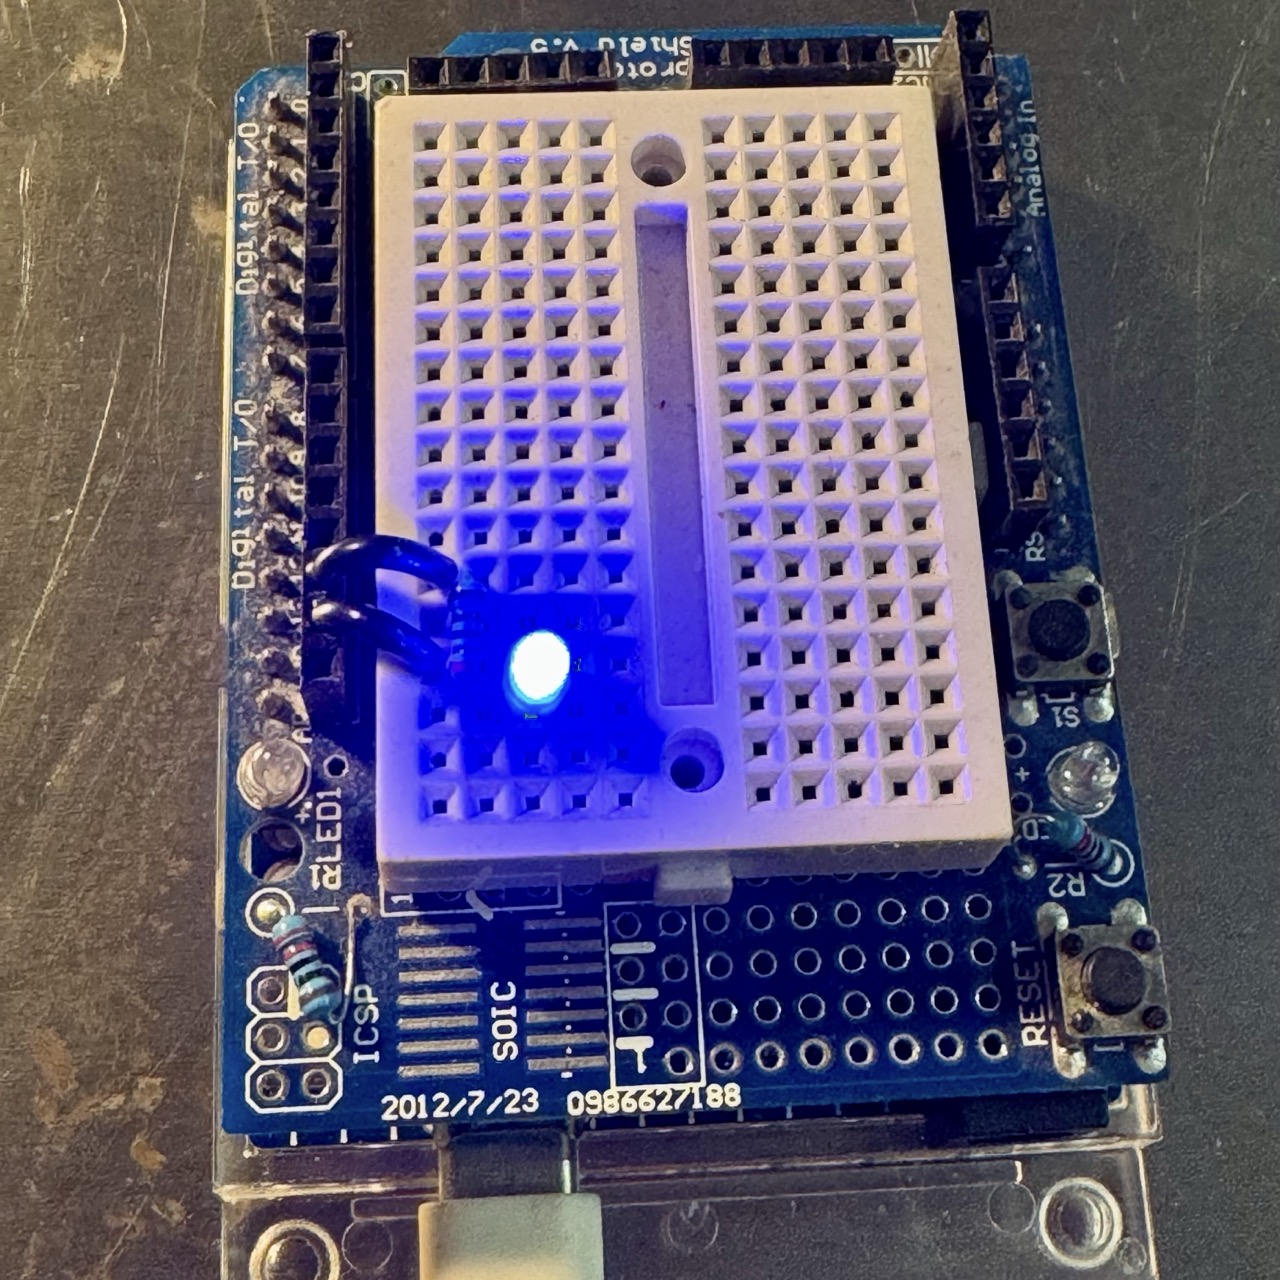
- The external LED connected to pin 13 should blink on and off every second.
Troubleshooting Tips
- If the LED doesn’t blink, check the wiring and ensure the resistor and LED are correctly placed.
- Verify the Arduino Minima R4 is properly connected to your PC and the correct port is selected in the IDE.
- Double-check the uploaded code for typos or errors.
- If the LED still doesn’t blink, try using a different LED or resistor.
Conclusion
In this experiment, you successfully learned how to blink an external LED using an Arduino Minima R4. You practiced basic wiring, explored Arduino programming concepts, and tested your circuit with a practical experiment. This is the first step in mastering Arduino-based electronics!
