Introduction to ESP32-WROOM-C3
The ESP32-WROOM-C3 is an advanced microcontroller from Espressif Systems, offering both Wi-Fi and Bluetooth LE connectivity. Based on the RISC-V architecture, it provides higher performance and lower power consumption compared to other models in the ESP32 series, making it ideal for IoT and other wireless communication projects.
Key Features
- Processor: Single-core 32-bit RISC-V processor running at up to 160 MHz for efficient computing.
- Connectivity: Wi-Fi (802.11 b/g/n) and Bluetooth 5.0 LE for versatile wireless communication.
- GPIOs: 22 GPIO pins supporting ADC, PWM, UART, SPI, I2C, and other protocols.
- Memory: Built-in 4MB Flash memory for storage and program execution.
- Power Efficiency: Low power modes, including deep sleep, for energy-conscious designs.
- Security: RSA, AES, and SHA acceleration for secure communication and data encryption.
- Development Support: Compatible with ESP-IDF, Arduino IDE, and MicroPython for flexible programming.
- Compact Design: Small form factor, making it suitable for embedded projects.
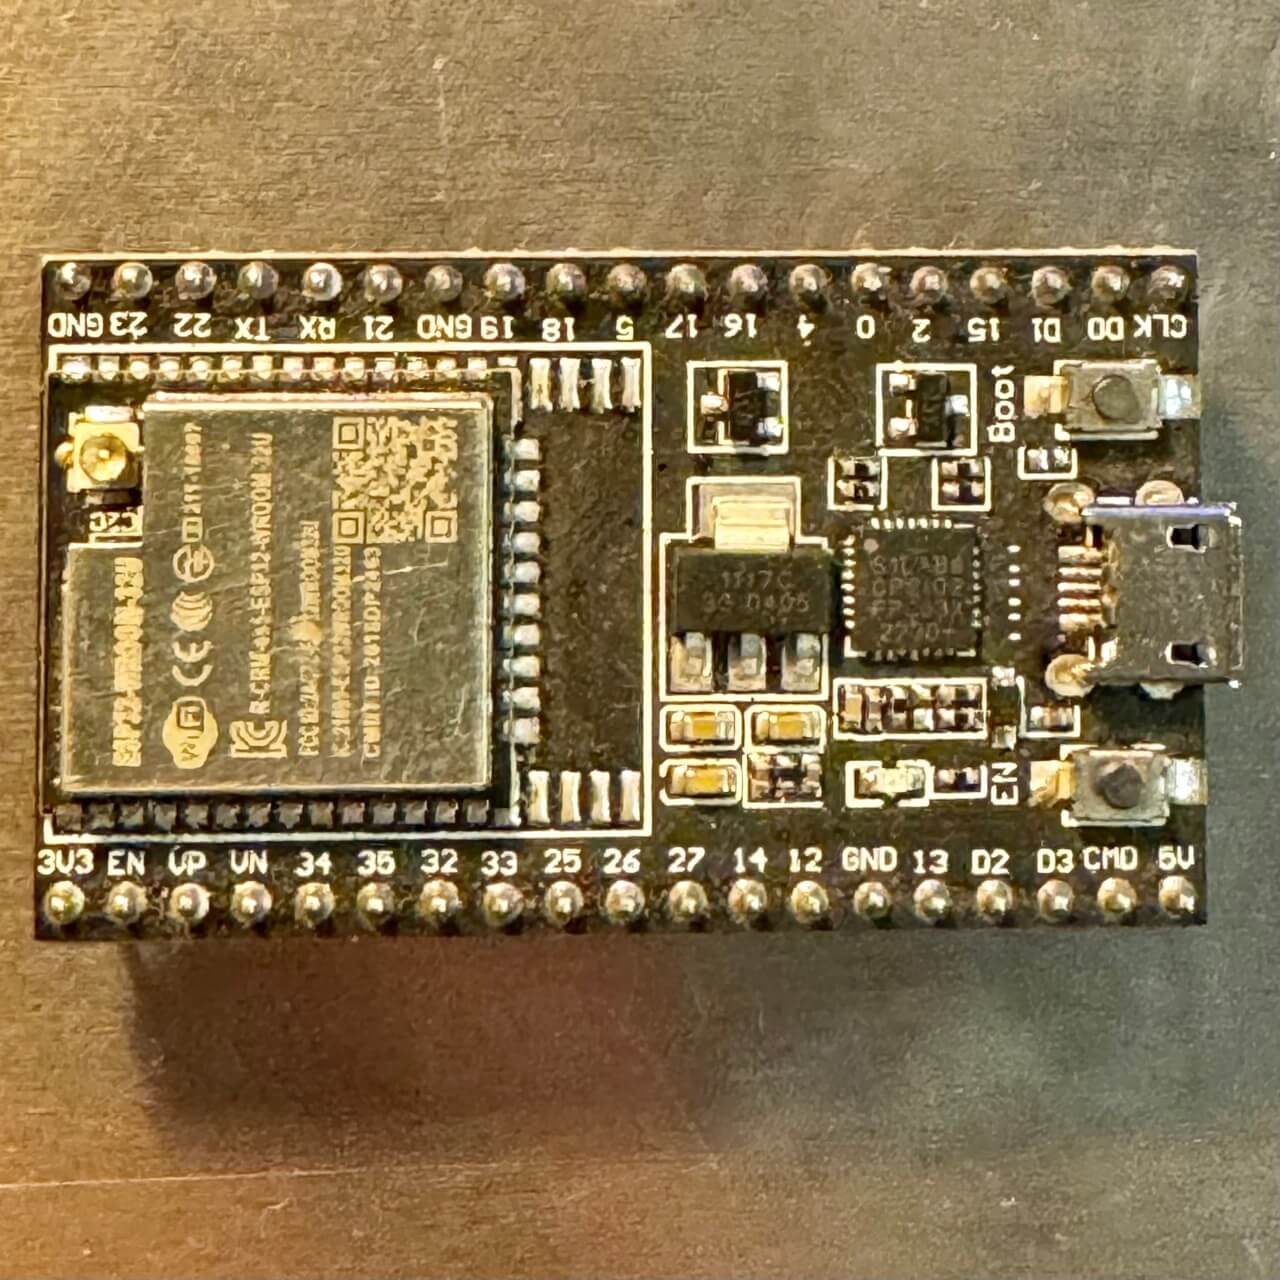
How to Set Up the ESP32-C3 Development Board
Follow these steps to get started with the ESP32-C3-DevKitC-02, which features the ESP32-C3-WROOM-02 module:
- Install Drivers: Download and install the USB-to-UART driver from Espressif’s website to enable communication between your computer and the ESP32-C3.
- Set Up Development Environment: Install the Arduino IDE or use the ESP-IDF framework.
- Add ESP32 Support: In the Arduino IDE, go to File > Preferences and add the ESP32 board package URL. Then, install the ESP32 board package from the Board Manager.
- Connect the Board: Use a USB-C (or Micro-USB, depending on the version) cable to connect the ESP32-C3 to your computer. Ensure it's properly detected in the Device Manager (Windows) or via `/dev/tty` (macOS/Linux).
- Select Board & Port: In the IDE, select "ESP32C3 Dev Module" as the board and choose the correct COM port.
- Flash Firmware: Upload a simple test program, such as the "Blink" example, to verify that the board is functioning.
- Monitor Output: Use the Serial Monitor to view real-time debugging messages from your ESP32-C3.
No Ads Available.
Applications of the ESP32-WROOM-C3
The ESP32-WROOM-C3 is versatile and can be used in various applications, including:
- Smart home devices (e.g., smart lights, door locks, thermostats)
- Wireless sensor networks (e.g., temperature, humidity, or motion sensors)
- Wearable devices with Bluetooth LE capabilities
- Remote control systems
- Bluetooth Low Energy communication with smartphones and other devices
- Industrial automation and monitoring systems
- Energy-efficient IoT deployments
Example Projects
Here are some example projects you can build with the ESP32-WROOM-C3:
- Smart light controller via Bluetooth or Wi-Fi
- Temperature and humidity monitoring system
- Wireless doorbell with video streaming
- Bluetooth-enabled fitness tracker
- IoT weather station with real-time data logging
- Voice-controlled home automation system
Troubleshooting Common Issues
When working with the ESP32-WROOM-C3, you may encounter some common issues. Here are solutions to some of the most frequent problems:
- Board Not Detected: Ensure you have installed the correct USB drivers for your operating system.
- Compilation Errors: Verify that you have selected the correct ESP32 board in the Arduino IDE.
- Connection Timeouts: Check that your USB cable supports data transfer and is not just a charging cable.
- Failed Uploads: Press and hold the BOOT button while uploading the code.
- Wi-Fi Connectivity Issues: Ensure you have entered the correct SSID and password and check for interference from other devices.
Conclusion
The ESP32-WROOM-C3 is a powerful and versatile microcontroller that offers Wi-Fi and Bluetooth LE connectivity, making it an excellent choice for IoT and embedded projects. With its low power consumption, robust security features, and extensive development support, it is ideal for various applications, from smart home automation to industrial monitoring.
By following the setup guide and exploring different project ideas, you can unlock the full potential of the ESP32-WROOM-C3. Whether you are a beginner or an experienced developer, this module provides an efficient and scalable solution for modern embedded systems.