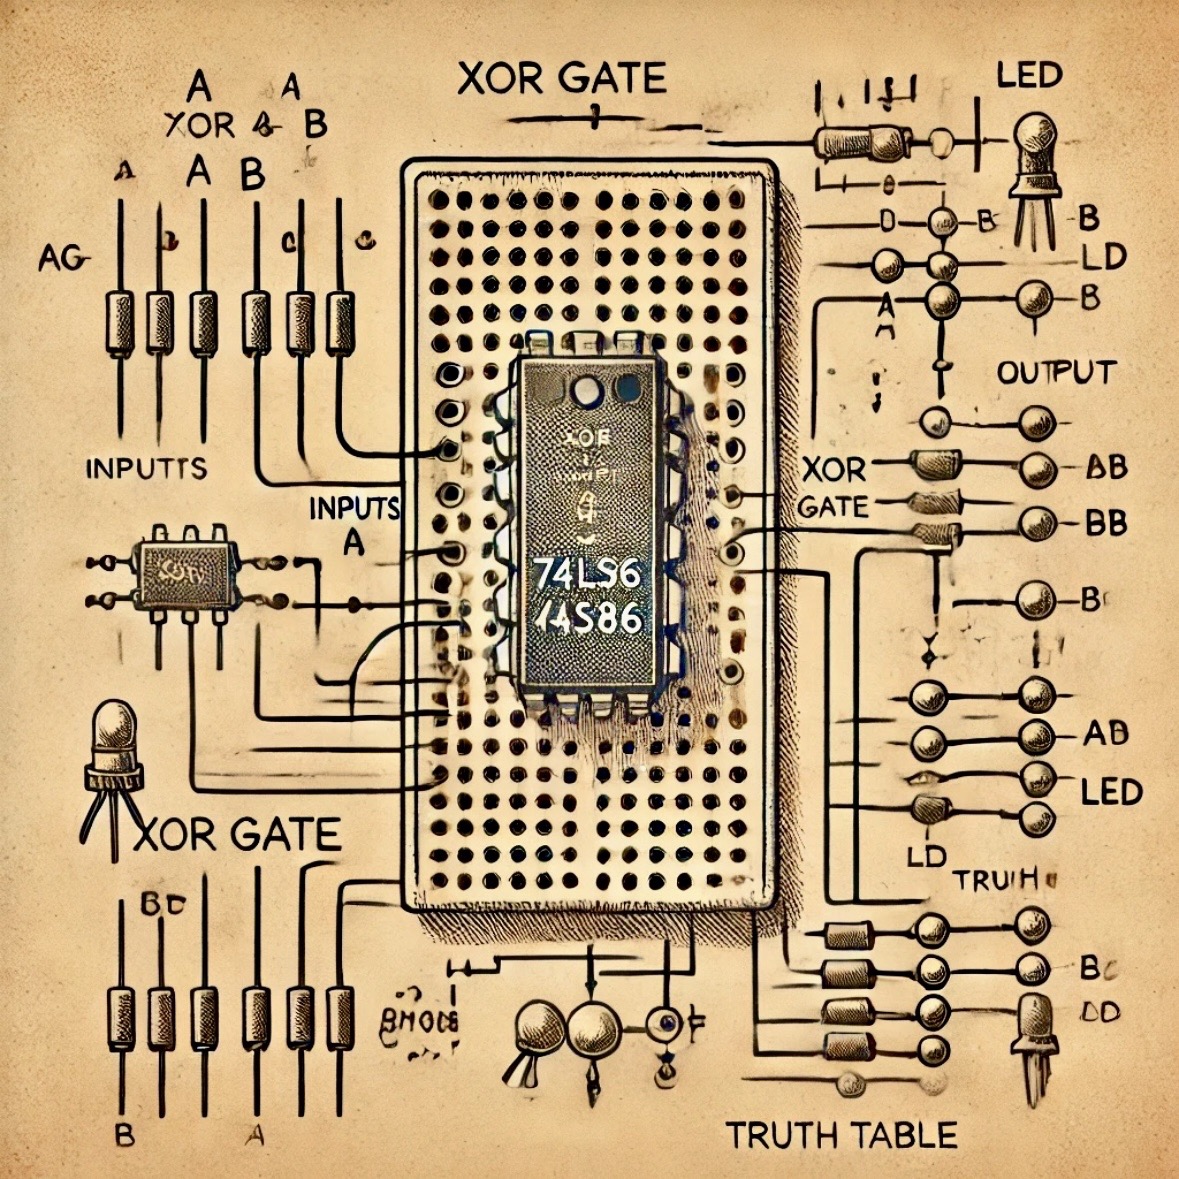

This tutorial demonstrates how to use XOR and AND gates to construct a simple digital adder circuit capable of performing binary addition. Digital adders are fundamental components in digital electronics and are widely used in processors and arithmetic circuits. Understanding how to design and test these circuits provides essential insight into digital logic.
Binary addition is performed by combining two bits at a time, resulting in a sum bit and a carry bit. This project implements the basic logic of a 1-bit binary adder.
Follow these steps to wire the XOR-based digital adder circuit on a breadboard:
Connect the positive rail of the breadboard to the power supply's +5V output and the negative rail to GND. Verify that the power connections are secure to avoid fluctuations in the circuit.
Power the circuit using a 5V source. Test different input combinations (A and B) by connecting them to +5V (logic high) or GND (logic low). Observe the corresponding LED outputs for the Sum and Carry bits:
Gather the following components to build your XOR-based digital adder circuit:
Insert the XOR and AND gate ICs into the breadboard. Ensure each IC is firmly seated, with its pins properly straddling the breadboard’s center divider.
Connect the power supply’s +5V and GND terminals to the breadboard's positive and negative rails, respectively.
Wire the XOR gate inputs (A and B) and its output (Sum) as described in the circuit wiring instructions. Use an LED and resistor for visual feedback.
Wire the AND gate inputs (A and B) and its output (Carry) as described in the circuit wiring instructions. Use another LED and resistor for visual feedback.
Apply power and test the circuit. If the LEDs do not respond as expected, check the connections for loose or misplaced wires and verify the orientation of the ICs and LEDs.
Once the circuit is operational, conduct the following experiments:
Simple digital adder circuits like this one have a wide range of applications:
By constructing this XOR-based digital adder circuit, you have gained hands-on experience with digital logic gates and binary addition. This knowledge is foundational for more advanced projects, such as creating full adders, arithmetic circuits, or even simple CPUs. Continue experimenting and expanding your circuit for greater challenges!