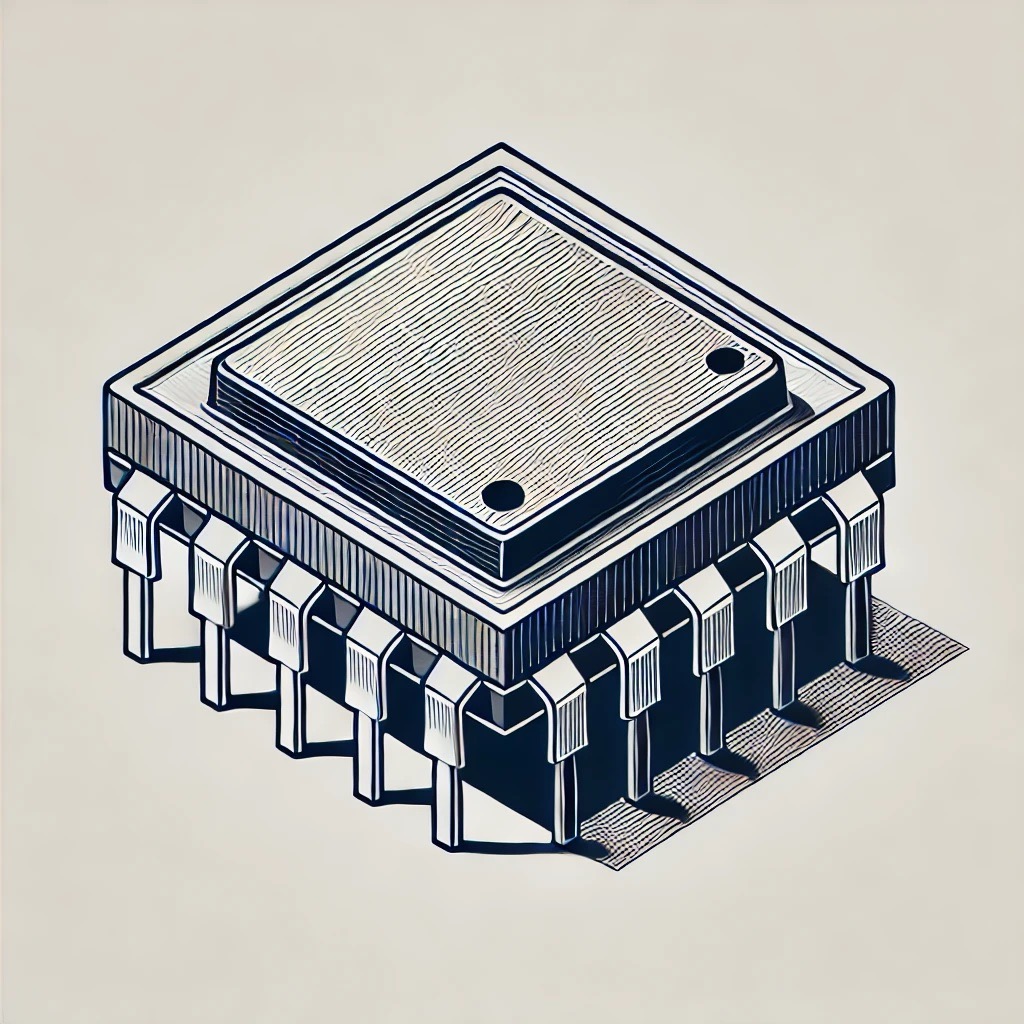
Introduction to ESP32
The ESP32 is a low-cost, low-power system-on-chip (SoC) microcontroller developed by Espressif Systems. Known for its robust wireless capabilities, the ESP32 integrates both Wi-Fi and Bluetooth, making it ideal for Internet of Things (IoT) applications, smart home devices, and wearable electronics.
Core Features of ESP32
- Dual-core Processor: Two 32-bit LX6 microprocessors running at up to 240 MHz for high performance.
- Integrated Wi-Fi and Bluetooth: Supports 2.4 GHz Wi-Fi and Bluetooth 4.2, including BLE (Bluetooth Low Energy).
- Low Power Consumption: Multiple power modes for energy-efficient operation, making it suitable for battery-powered devices.
- Rich Peripheral Set: Includes GPIO, PWM, ADC, DAC, I2C, SPI, UART, and more for versatile interfacing.
- Memory: Up to 520 KB of SRAM and support for external Flash.
Application Areas
The ESP32 is widely used in various applications, including:
- IoT Devices: Home automation, smart sensors, and connected appliances.
- Wearable Technology: Health trackers, fitness devices, and Bluetooth-enabled accessories.
- Embedded Systems: Robotics, motor control, and remote sensing applications.
- Wireless Data Logging: Collecting and transmitting data over Wi-Fi or Bluetooth.
Getting Started with ESP32
To begin working with the ESP32, Espressif provides development tools and resources:
- ESP-IDF: Espressif's official development framework for the ESP32, offering a full-featured environment for embedded programming.
- Arduino IDE: The ESP32 can also be programmed using the Arduino IDE, making it accessible for beginners.
- ESP32 Development Boards: A range of ESP32-based boards for prototyping, including the popular ESP32 DevKitC.
Example: Setting Up Wi-Fi on ESP32
This example demonstrates how to connect the ESP32 to a Wi-Fi network using the Arduino IDE.
Requirements
- ESP32 development board (e.g., ESP32 DevKitC)
- Arduino IDE with ESP32 support installed
Steps
- Open the Arduino IDE and set up the ESP32 board by installing the ESP32 board package if not already done.
- Go to
File > Examples > WiFi > WiFiClientto open a Wi-Fi example sketch or use the following code. - Replace the placeholders
SSIDandPASSWORDwith your Wi-Fi network credentials, then upload the code.
#includeconst char* ssid = "your_SSID"; const char* password = "your_PASSWORD"; void setup() { Serial.begin(115200); WiFi.begin(ssid, password); Serial.print("Connecting to Wi-Fi"); while (WiFi.status() != WL_CONNECTED) { delay(500); Serial.print("."); } Serial.println("\nConnected to Wi-Fi"); Serial.print("IP address: "); Serial.println(WiFi.localIP()); } void loop() { // Main loop code here }
Explanation
This code initializes the Wi-Fi library, attempts to connect to the specified Wi-Fi network, and outputs the IP address if successful. This setup is the first step in building connected applications with the ESP32.
