Materials Needed
- Arduino Pro Micro
- USB cable (Micro-USB for Pro Micro)
- Breadboard
- LED (any color)
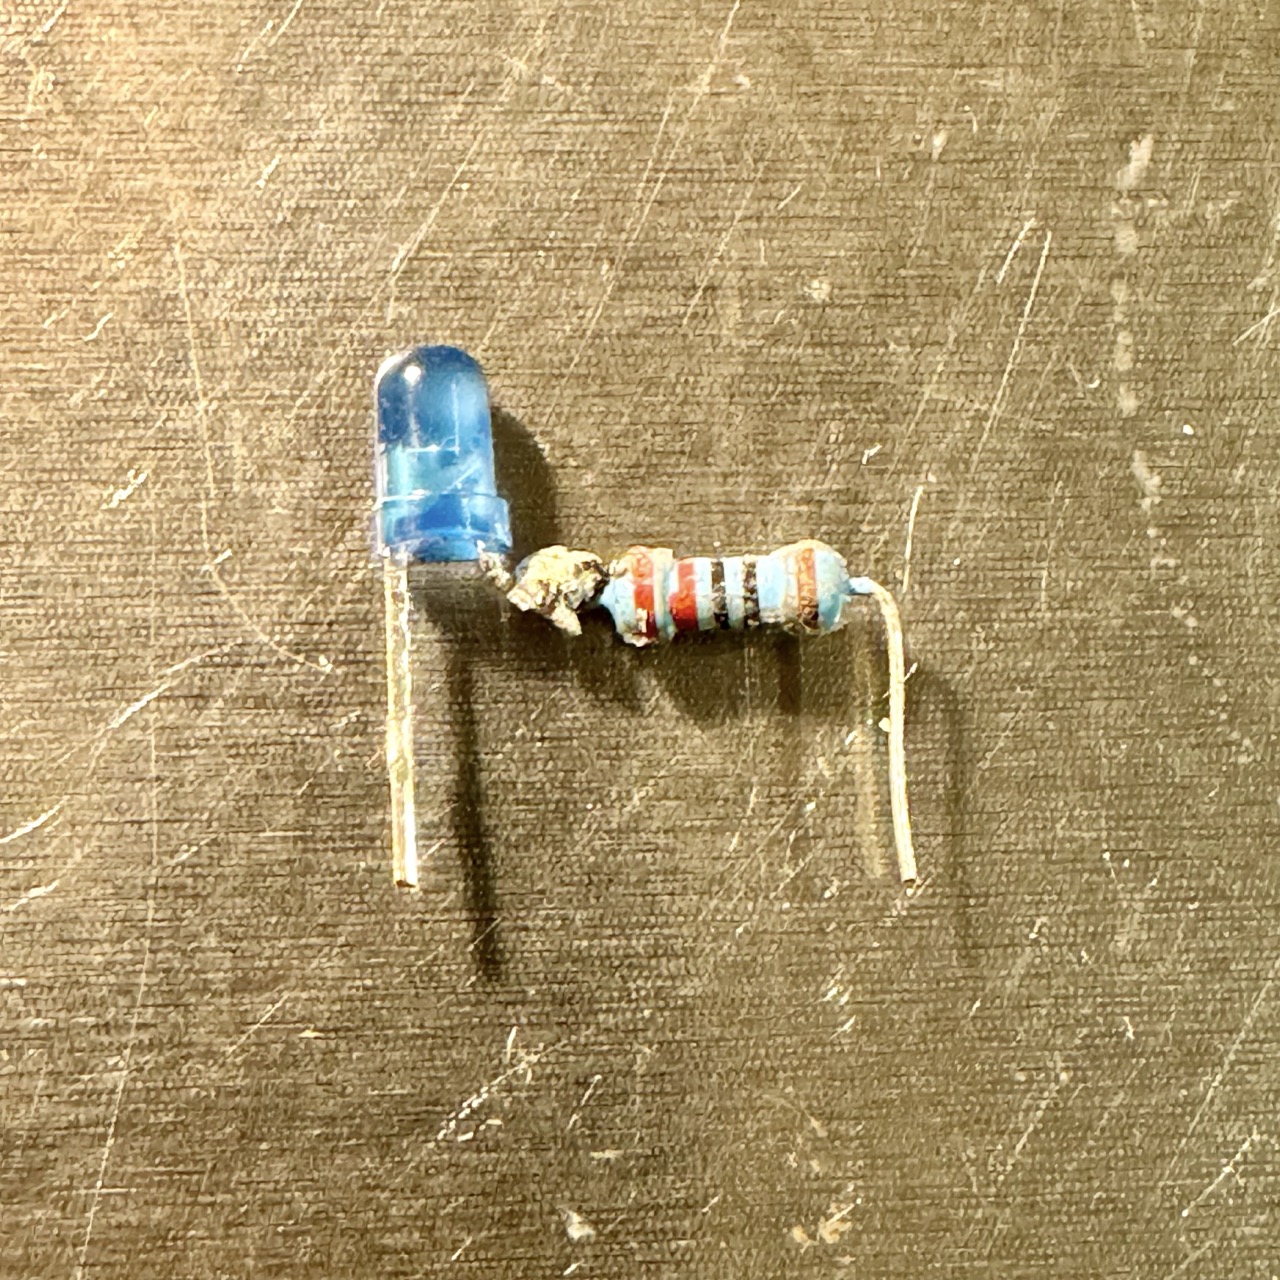
- 270-ohm resistor
- Soldering iron and solder
- Computer with Arduino IDE installed

This tutorial will guide you through making an LED blink using the Arduino Pro Micro. This beginner project introduces you to basic microcontroller programming and working with breadboards.


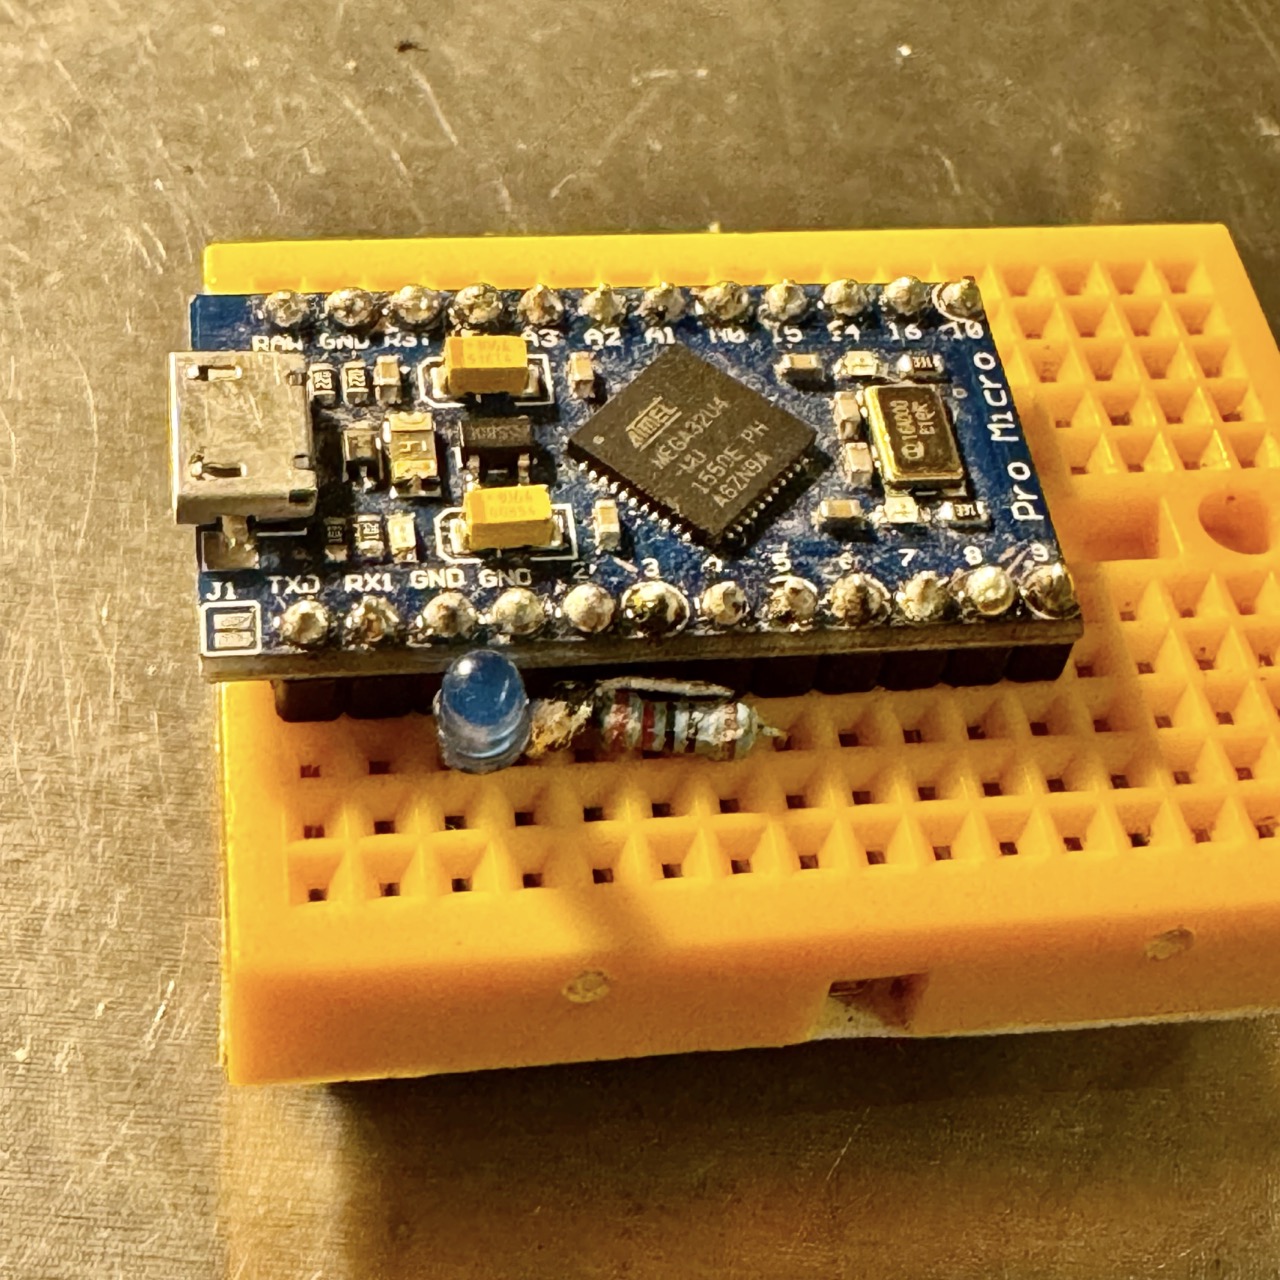
Place the Arduino Pro Micro onto the breadboard, ensuring the rows do not short any connections. Orient the Pro Micro so its pins align correctly with the breadboard rows.

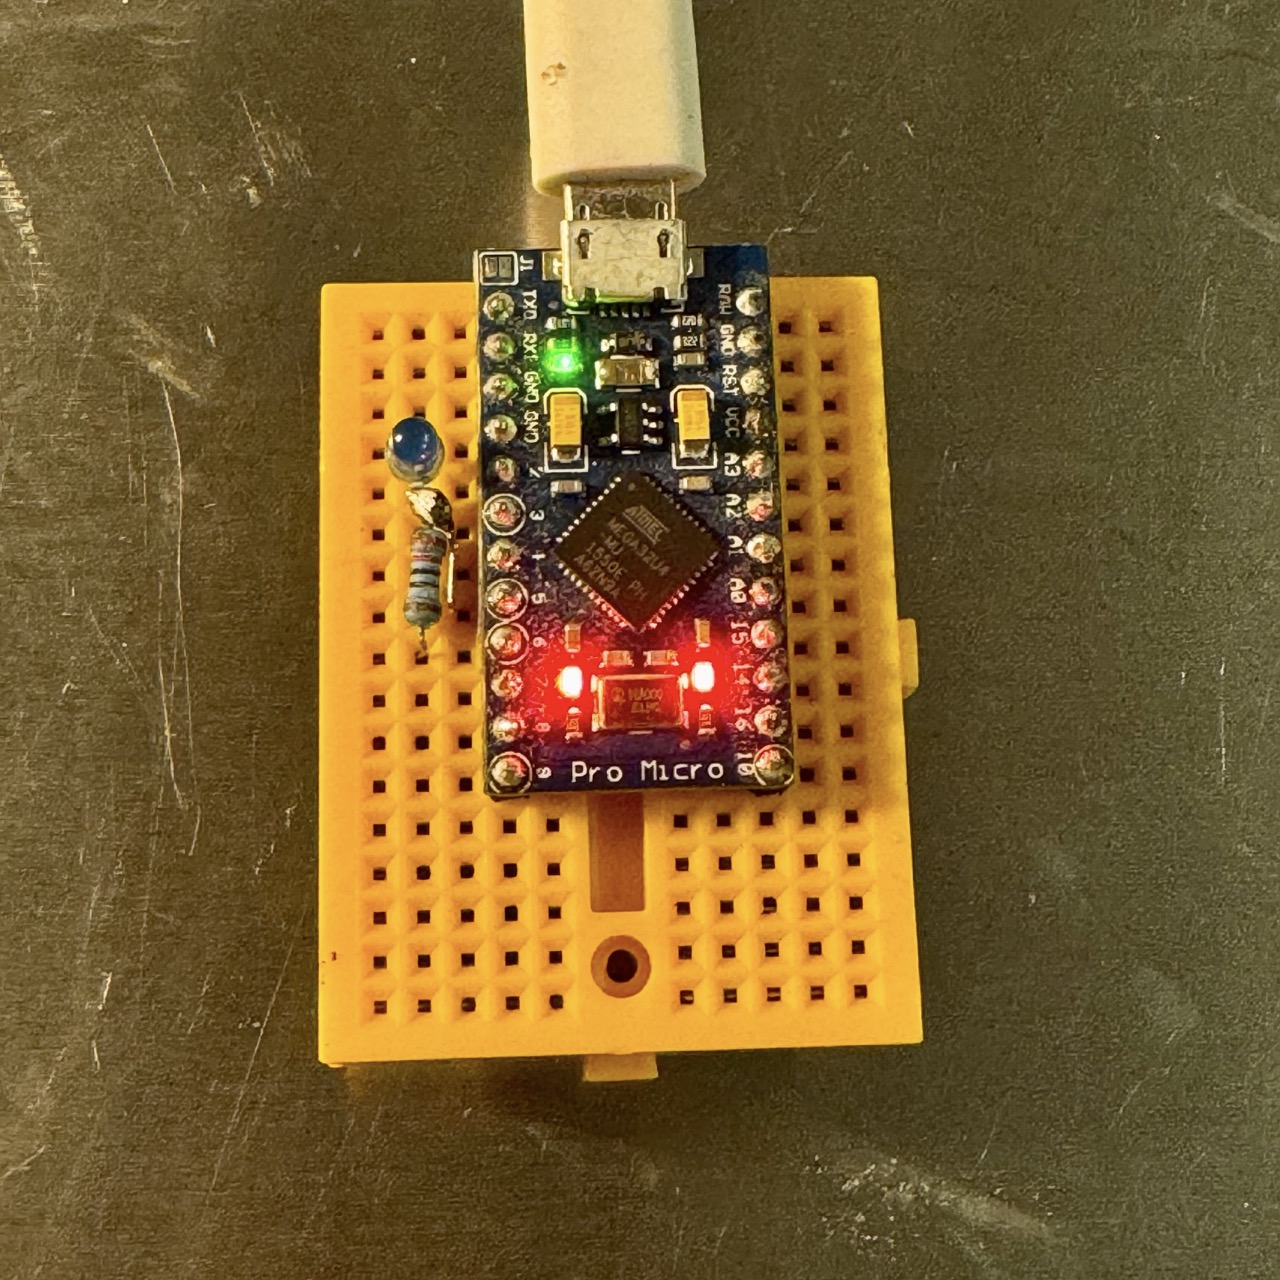
Connect the Pro Micro to your computer using a Micro-USB cable. This will also provide power to the board.
Open the Arduino IDE and write or paste the following code:
void setup() {
  pinMode(6, OUTPUT); // Set pin 5 as an output
}

void loop() {
  digitalWrite(6, HIGH); // Turn the LED on
  delay(1000);           // Wait for 1 second
  digitalWrite(6, LOW);  // Turn the LED off
  delay(1000);           // Wait for 1 second
}

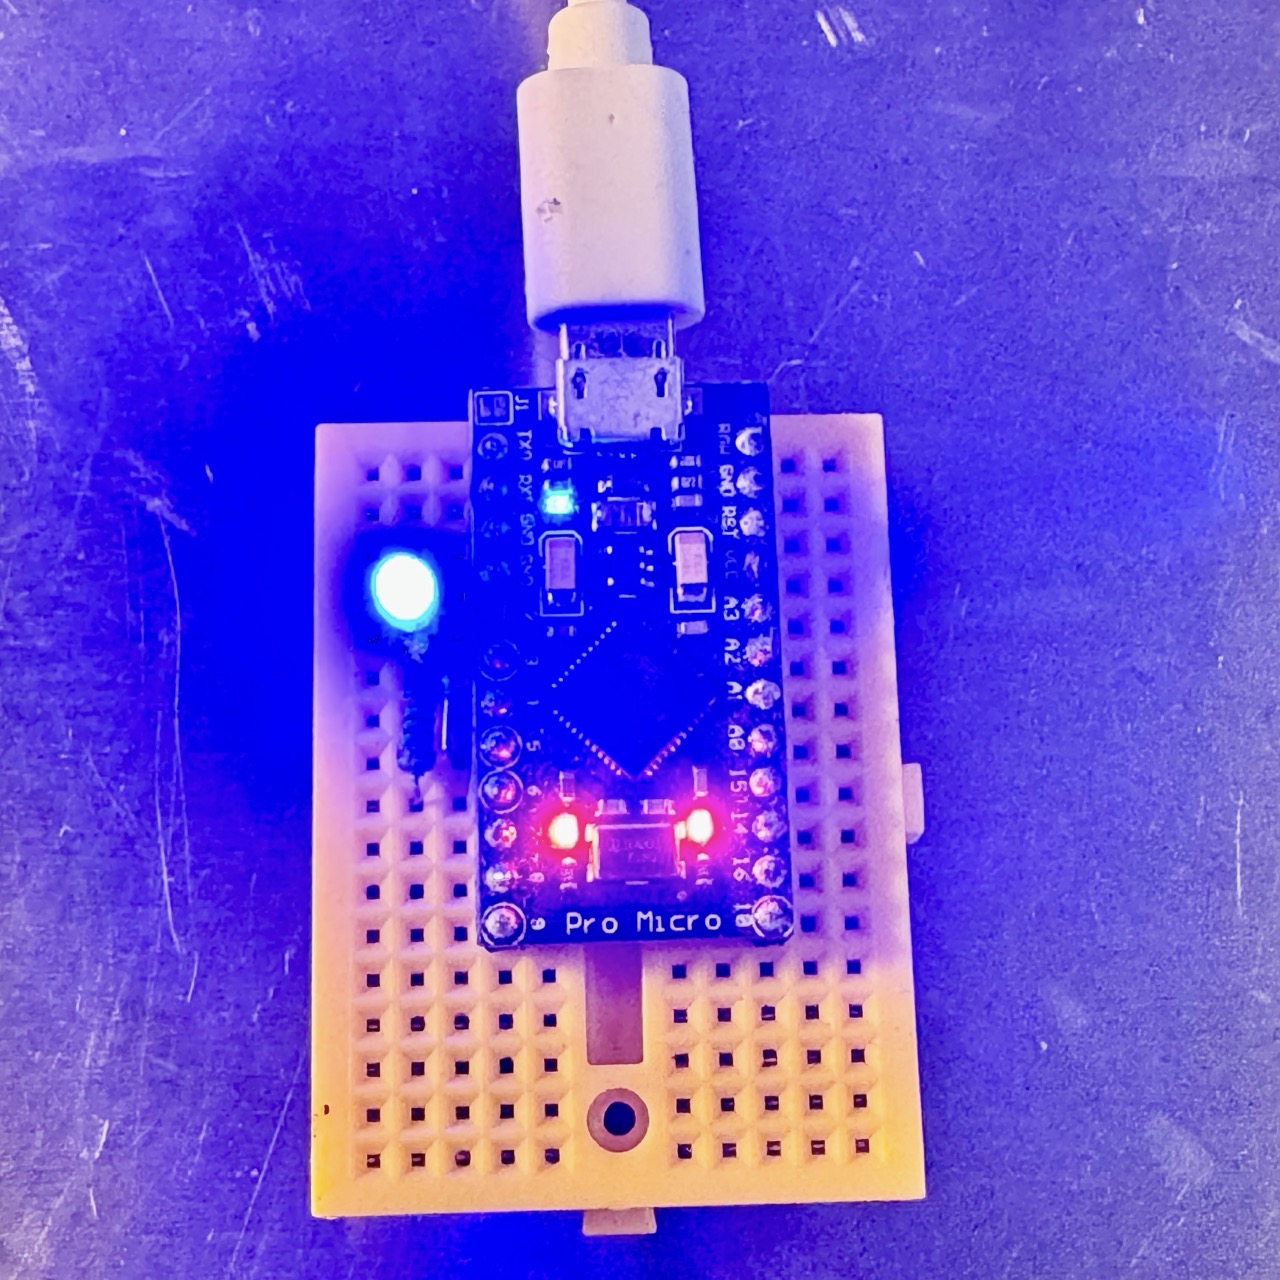
After uploading the code, the LED should blink on and off every second. If it does, congratulations on completing the project!
The Arduino Pro Micro is programmed to set pin 6 as an output. The digitalWrite function toggles the voltage on pin 5 between HIGH and LOW, which turns the LED on and off. The delay function creates a 1-second pause between state changes, resulting in a blinking effect.
Congratulations! You’ve built a basic circuit to blink an LED using the Arduino Pro Micro. This project teaches you fundamental skills like microcontroller programming, soldering, and breadboard prototyping. You can expand on this by adding more LEDs, sensors, or components to build more complex circuits.

For more Arduino tutorials and projects, visit Microautomation.no.