Objective
Detect liquid levels using a float sensor to trigger specific actions like controlling pumps or alarms.
Required Components
- Float Sensor
- Arduino Board (e.g., Arduino Uno)
- Jumper wires
- Breadboard
- Arduino IDE (for programming)
Working Principle
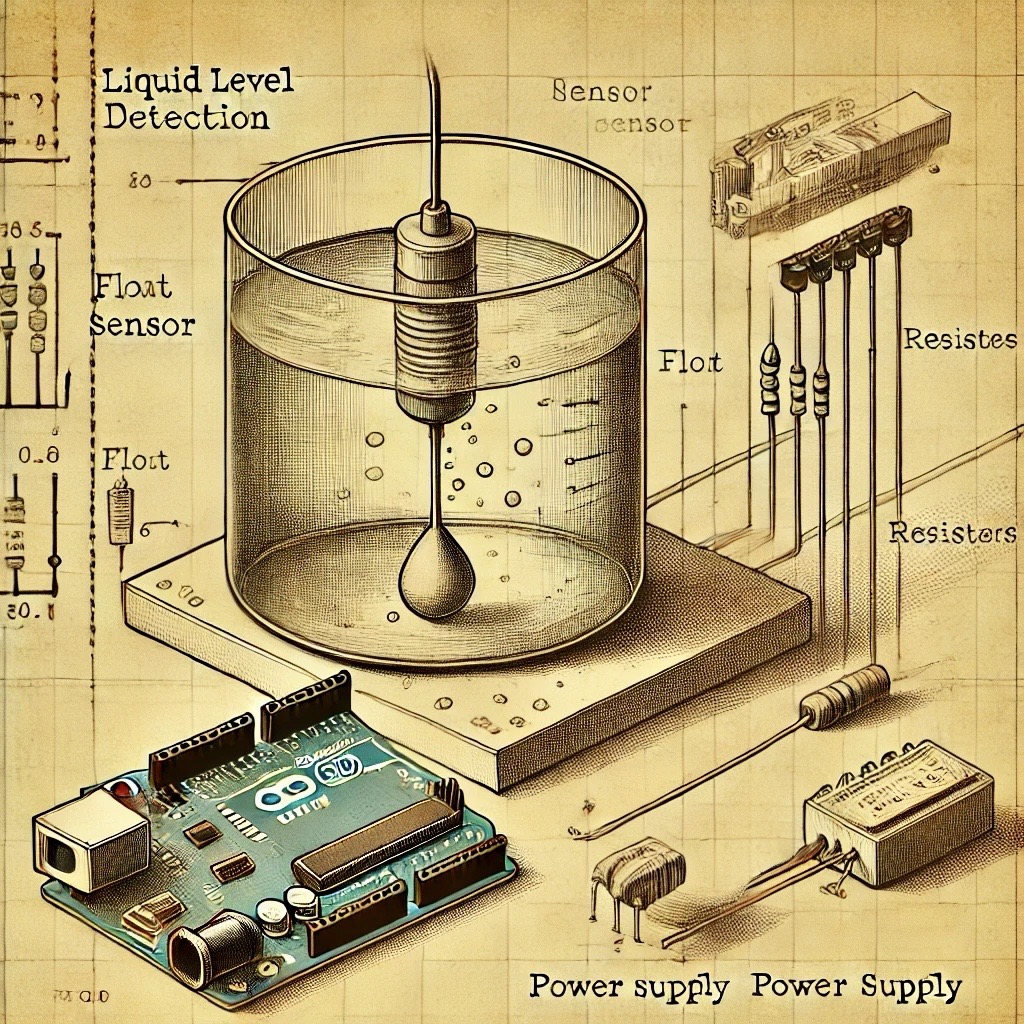
The float sensor monitors the liquid level using a floating device. When the level rises or falls past a certain point, the sensor outputs a digital signal to the Arduino.
Circuit Diagram

Connections:
- Connect one sensor pin to the Arduino's GND.
- Connect the other sensor pin to digital pin 2 and a pull-up resistor (if needed).
Arduino Code
const int floatPin = 2;  // Float sensor connected to digital pin 2
int floatState = 0;

void setup() {
    Serial.begin(9600);  // Initialize serial communication
    pinMode(floatPin, INPUT);  // Set the float sensor pin as input
}

void loop() {
    floatState = digitalRead(floatPin); // Read float sensor state

    if (floatState == HIGH) {
        Serial.println("Water Level High!");
    } else {
        Serial.println("Water Level Low.");
    }
    delay(1000); // Delay for 1 second
}
Results
The Arduino serial monitor displays either "Water Level High!" or "Water Level Low." based on the float sensor state.
Applications
- Automatic water level controllers
- Tank overflow alarms
- Pump automation systems
Conclusion
Float sensors offer a simple yet effective way to monitor and control liquid levels in various applications.
