Objective
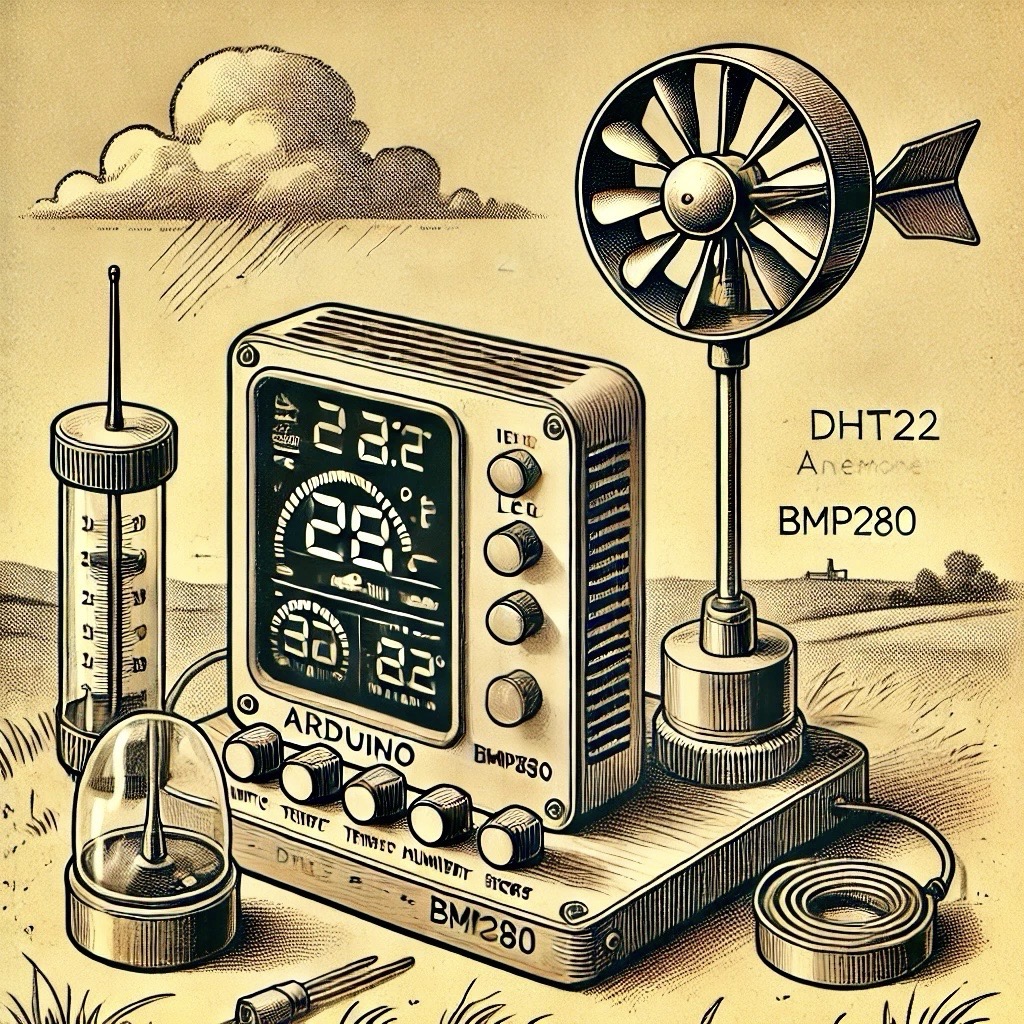
This experiment demonstrates how to measure wind speed using an anemometer and Arduino by counting rotations per minute (RPM). This project also introduces concepts like interrupt-based signal processing, calibration, and real-time monitoring of wind speed.
Components Required
- Anemometer - A device with rotating blades that sense wind speed.
- Arduino Board (e.g., Arduino Uno) - Microcontroller for data processing and calculation.
- Jumper Wires - For making connections between components.
- Breadboard - For creating temporary circuit connections.
- USB Cable - To connect Arduino to a computer for programming and power.
- OLED/16x2 Display (optional) - For displaying wind speed without using a computer.
Working Principle
The anemometer uses a rotating blade or cup mechanism to measure wind speed. Each rotation generates a pulse, which is sent to the Arduino through the signal pin. By counting these pulses over a specific period, the Arduino calculates the RPM. Using the predefined calibration factor of the anemometer, the RPM is then converted into wind speed in meters per second (m/s).
Formula for Wind Speed:
Wind Speed (m/s) = RPM × Calibration FactorThe calibration factor depends on the specific anemometer model and is usually provided in the datasheet.
Wiring Instructions
Follow these steps to wire the anemometer to the Arduino board:
- Connect the signal pin of the anemometer to digital pin 2 on the Arduino board.
- Connect the power (VCC) pin of the anemometer to the 5V pin on the Arduino.
- Connect the GND pin of the anemometer to the GND pin on the Arduino.
- If using an optional display, connect it according to its specifications (e.g., I2C or parallel interface).
Note: Ensure all connections are secure and double-check polarity to avoid damage to the components.
Code
/*
 * Wind Speed Measurement with Anemometer
 * This code calculates wind speed by counting the RPM of the anemometer.
 */

const int sensorPin = 2;  // Anemometer signal pin connected to digital pin 2
volatile int windCount = 0;  // Stores the number of rotations
float calibrationFactor = 0.5;  // Anemometer calibration factor (e.g., 0.5 for m/s)

void setup() {
  Serial.begin(9600);  // Initialize serial communication
  pinMode(sensorPin, INPUT);  // Set the sensor pin as input
  attachInterrupt(digitalPinToInterrupt(sensorPin), countWind, RISING);  // Interrupt on rising edge
}

void loop() {
  windCount = 0;
  interrupts();  // Enable interrupts
  delay(1000);  // Wait for 1 second
  noInterrupts();  // Disable interrupts

  float windSpeed = (windCount / 2.0) * calibrationFactor;  // Calculate wind speed in m/s
  Serial.print("Wind Speed: ");
  Serial.print(windSpeed);
  Serial.println(" m/s");
}

void countWind() {
  windCount++;
}
Note: Update the calibrationFactor based on your anemometer model for accurate results.
Calibration
Calibration ensures accurate wind speed measurements. Perform these steps:
- Use a calibrated wind tunnel or compare the anemometer's readings with a known reference device.
- Adjust the
calibrationFactorin the code until the Arduino's readings match the reference.
Consult the anemometer's datasheet for factory-calibrated factors if available.
Results
The Arduino's serial monitor displays the wind speed in meters per second (m/s) based on the anemometer’s RPM. Use the data for analysis or visualization in real-time weather applications.
Example output:
Wind Speed: 2.5 m/s
Wind Speed: 3.0 m/s
Wind Speed: 2.8 m/s
Applications
- Weather stations for monitoring wind speed and direction.
- Environmental monitoring to study climate patterns.
- Aerospace and aviation for pre-flight wind assessments.
- Energy production in wind turbines to assess efficiency.
- Sports and outdoor activities requiring wind speed measurement.
Limitations
- Accuracy depends on the anemometer's calibration and environmental conditions.
- May not perform well in extreme weather conditions (e.g., heavy rain or snow).
- Requires a clear area for accurate wind measurement, free from obstructions.
Conclusion
This project demonstrates how to use an anemometer with Arduino to measure wind speed accurately. With proper calibration, it can be utilized in various applications, from weather stations to renewable energy monitoring. Experiment further by integrating additional sensors like temperature or humidity to build a complete weather station!
