Introduction
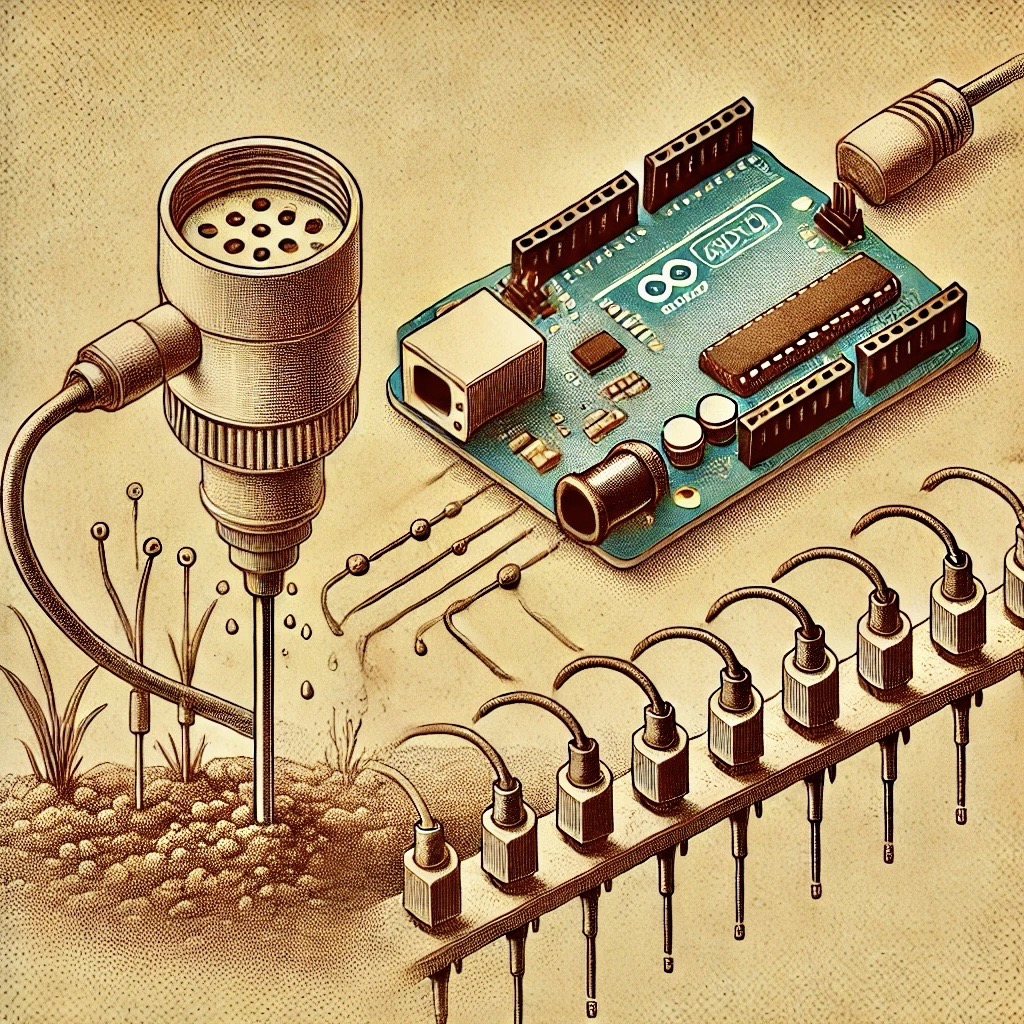
Soil moisture monitoring is crucial for gardening, farming, and automated irrigation systems. This tutorial explains how to use a soil moisture sensor with an Arduino to measure moisture levels in soil. You’ll learn about sensor setup, Arduino programming, and real-world applications.
With a few components, you can build a simple yet effective soil moisture monitoring system that can be expanded into a complete smart irrigation solution.
Required Components
- 1 x Soil moisture sensor (with probe and module)
- 1 x Arduino board (e.g., Uno, Nano)
- 1 x USB cable (for Arduino programming and power)
- 1 x Breadboard (optional)
- Jumper wires
Optional components for advanced projects:
- 1 x Relay module (for controlling water pumps)
- 1 x Water pump
- 1 x Water reservoir
Wiring Instructions
Follow these steps to connect the soil moisture sensor to your Arduino:
- Identify the pins on the soil moisture module:
- VCC: Supplies power to the sensor.
- GND: Ground connection.
- AO: Analog output signal representing soil moisture level.
- DO: Digital output signal based on a preset threshold (optional).
- Connect the sensor:
- Connect the VCC pin to the Arduino’s 5V pin.
- Connect the GND pin to one of the Arduino’s GND pins.
- Connect the AO pin to the Arduino’s A0 pin.
- If using DO, connect it to a digital pin (e.g., D2).
Pro Tip: Use a breadboard for cleaner wiring and to make modifications easier.
Arduino Code
Use the following code to read the soil moisture levels:
#include

const int soilPin = A0;  // Analog pin connected to the soil moisture sensor
const int dryThreshold = 700; // Adjust this value based on your sensor's output

void setup() {
    Serial.begin(9600);
    pinMode(soilPin, INPUT);
}

void loop() {
    int moistureValue = analogRead(soilPin);
    Serial.print("Soil Moisture Level: ");
    Serial.println(moistureValue);

    if (moistureValue > dryThreshold) {
        Serial.println("Soil is dry. Watering needed!");
    } else {
        Serial.println("Soil moisture is sufficient.");
    }
    delay(1000); // Wait for 1 second before the next reading
}
Tips:
- Use the dryThreshold variable to define the moisture level that triggers watering.
- Test your sensor in both wet and dry soil to calibrate the threshold value.
Applications
Here are some practical applications for a soil moisture sensor system:
- Automated Irrigation Systems: Automatically water plants when the soil is dry.
- Smart Gardening: Monitor soil moisture levels to optimize plant growth.
- Agricultural Monitoring: Ensure crops receive adequate water while minimizing waste.
- Educational Projects: Demonstrate the importance of soil moisture in plant growth.
Conclusion
Using a soil moisture sensor with an Arduino is a simple yet powerful way to automate plant care. With this setup, you can ensure your plants get the water they need while avoiding overwatering. Expand your project by integrating additional sensors or connecting to IoT platforms for remote monitoring and control!
FAQ
Q: How do I calibrate the sensor?
A: Place the sensor in dry soil and note the reading. Then place it in fully saturated soil and note the reading. Use these values to set a dry threshold in your code.
Q: Can I use this sensor outdoors?
A: Yes, but ensure the sensor's electronics are protected from water exposure. Use waterproof enclosures if necessary.
Q: How long does the sensor last?
A: The lifespan depends on usage and exposure conditions. Prolonged exposure to moisture can degrade the probes, so regular maintenance is recommended.
