Introduction
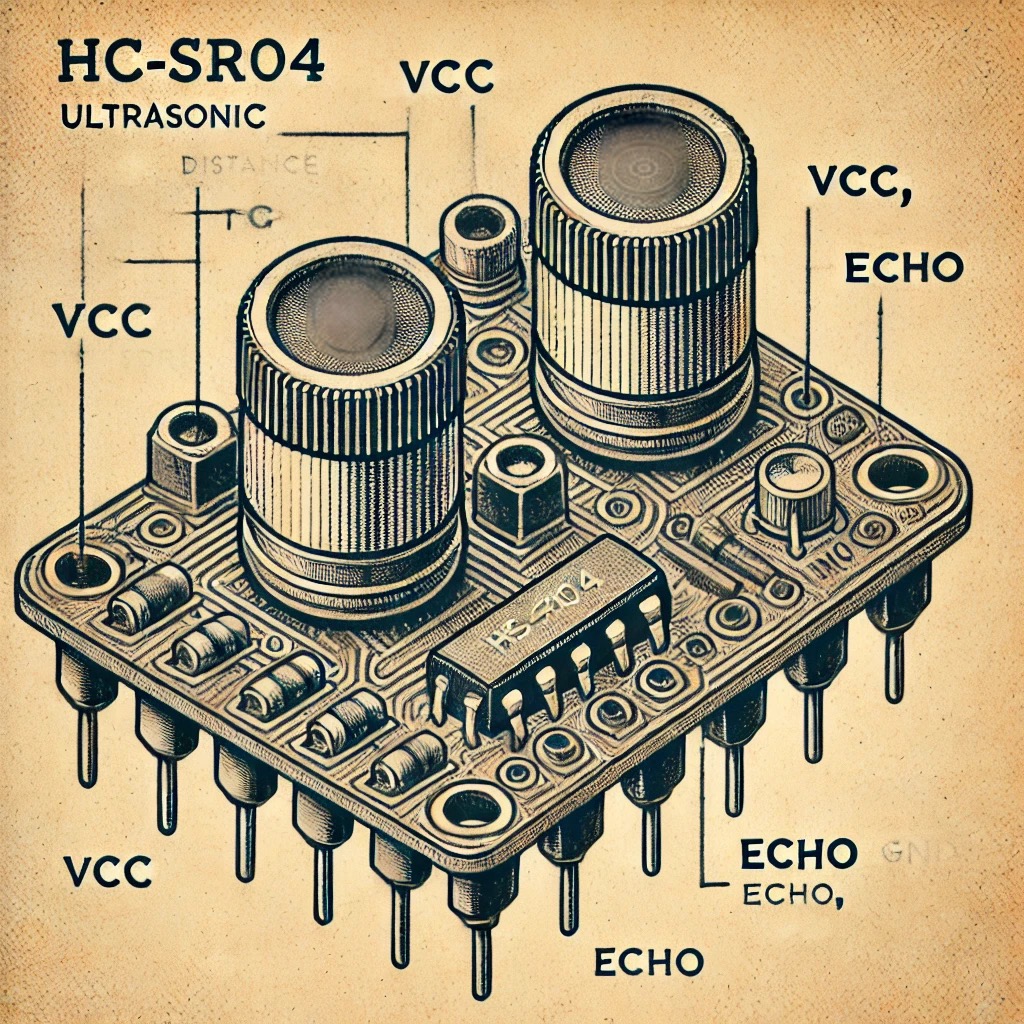
The HC-SR04 ultrasonic sensor is a widely used distance measuring device in electronics and robotics projects. This tutorial demonstrates how to measure the distance to an object using the HC-SR04 sensor with an Arduino. The sensor emits ultrasonic waves and calculates the distance based on the time it takes for the waves to return after bouncing off an object. This makes it an excellent choice for applications requiring precise, non-contact distance measurement.
By the end of this tutorial, you'll be able to use the HC-SR04 sensor to measure distances and apply this knowledge to a variety of projects, including obstacle detection and automation systems.
Required Components
To complete this tutorial, you'll need the following components:
- 1 x Ultrasonic Sensor (HC-SR04)
- 1 x Arduino board (e.g., Arduino Uno, Nano, or Mega)
- Jumper wires (at least 4)
- 1 x Breadboard
- USB cable for Arduino
- Arduino IDE (for programming)
If you're using an Arduino compatible board, ensure it has enough I/O pins to connect the sensor.
Wiring Instructions
Follow these detailed steps to wire the HC-SR04 ultrasonic sensor to the Arduino:
-
Connect the VCC Pin: Use a jumper wire to connect the VCC pin on the HC-SR04 sensor to the 5V pin on the Arduino.
- This provides the sensor with the necessary power to operate.
-
Connect the GND Pin: Connect the GND pin on the sensor to the GND pin on the Arduino.
- This completes the power circuit, providing a common ground between the sensor and the Arduino.
-
Connect the TRIG Pin: Attach the TRIG pin on the sensor to digital pin 9 on the Arduino.
- The TRIG pin sends ultrasonic pulses when triggered by the Arduino.
-
Connect the ECHO Pin: Attach the ECHO pin on the sensor to digital pin 10 on the Arduino.
- The ECHO pin receives the reflected ultrasonic waves, which are used to calculate distance.
Once all connections are in place, double-check the wiring to ensure accuracy. Incorrect connections can lead to sensor malfunctions or damage to the Arduino.
Tip: Use a breadboard to neatly arrange your connections, especially when prototyping.
Arduino Code
Upload the following code to your Arduino using the Arduino IDE. This code sends an ultrasonic pulse from the TRIG pin, calculates the time it takes to receive the pulse back at the ECHO pin, and computes the distance in centimeters:
/*
 * Distance Measurement with Ultrasonic Sensor
 * This code reads the distance using the ultrasonic sensor and displays it on the serial monitor
 */

const int trigPin = 9;  // Trigger pin of the ultrasonic sensor
const int echoPin = 10; // Echo pin of the ultrasonic sensor
long duration;
int distance;

void setup() {
    Serial.begin(9600);  // Initialize serial communication
    pinMode(trigPin, OUTPUT);  // Set the trigger pin as output
    pinMode(echoPin, INPUT);   // Set the echo pin as input
}

void loop() {
    // Send a pulse to the ultrasonic sensor
    digitalWrite(trigPin, LOW);
    delayMicroseconds(2);
    digitalWrite(trigPin, HIGH);
    delayMicroseconds(10);
    digitalWrite(trigPin, LOW);

    // Measure the time it takes for the pulse to return
    duration = pulseIn(echoPin, HIGH);

    // Calculate the distance
    distance = duration * 0.034 / 2;

    // Print the distance to the serial monitor
    Serial.print("Distance: ");
    Serial.print(distance);
    Serial.println(" cm");

    delay(500);  // Wait for half a second
}
Note: Ensure the Serial Monitor is set to the correct baud rate (9600) to view the output.
Troubleshooting
If you're experiencing issues, consider the following tips:
- Ensure all wires are securely connected to the correct pins.
- Check that the Arduino board is properly powered via USB or an external power source.
- Verify that the HC-SR04 sensor is functional by testing it on another Arduino or using a multimeter.
- If the distance readings are erratic, ensure there are no objects within 2 cm of the sensor, as this is its minimum range.
- Make sure the Serial Monitor is set to 9600 baud rate to read the output correctly.
Applications
The HC-SR04 sensor has a wide range of applications, including:
- Obstacle detection in robotics
- Parking sensors for vehicles
- Proximity-based security systems
- Distance measurement in automated conveyor systems
- Water level detection in tanks
By integrating additional sensors or actuators, you can further enhance the functionality of the HC-SR04 in your projects.
Conclusion
Using the HC-SR04 ultrasonic sensor with Arduino, you can measure distances with high precision and integrate the setup into diverse projects. Whether you're building a robot, automating a system, or experimenting with sensors, this tutorial gives you a strong foundation to start your journey. Keep experimenting and innovating!
