ESP8266 MQTT Tutorial: How to Use MQTT for IoT Messaging
Difficulty Level: Intermediate
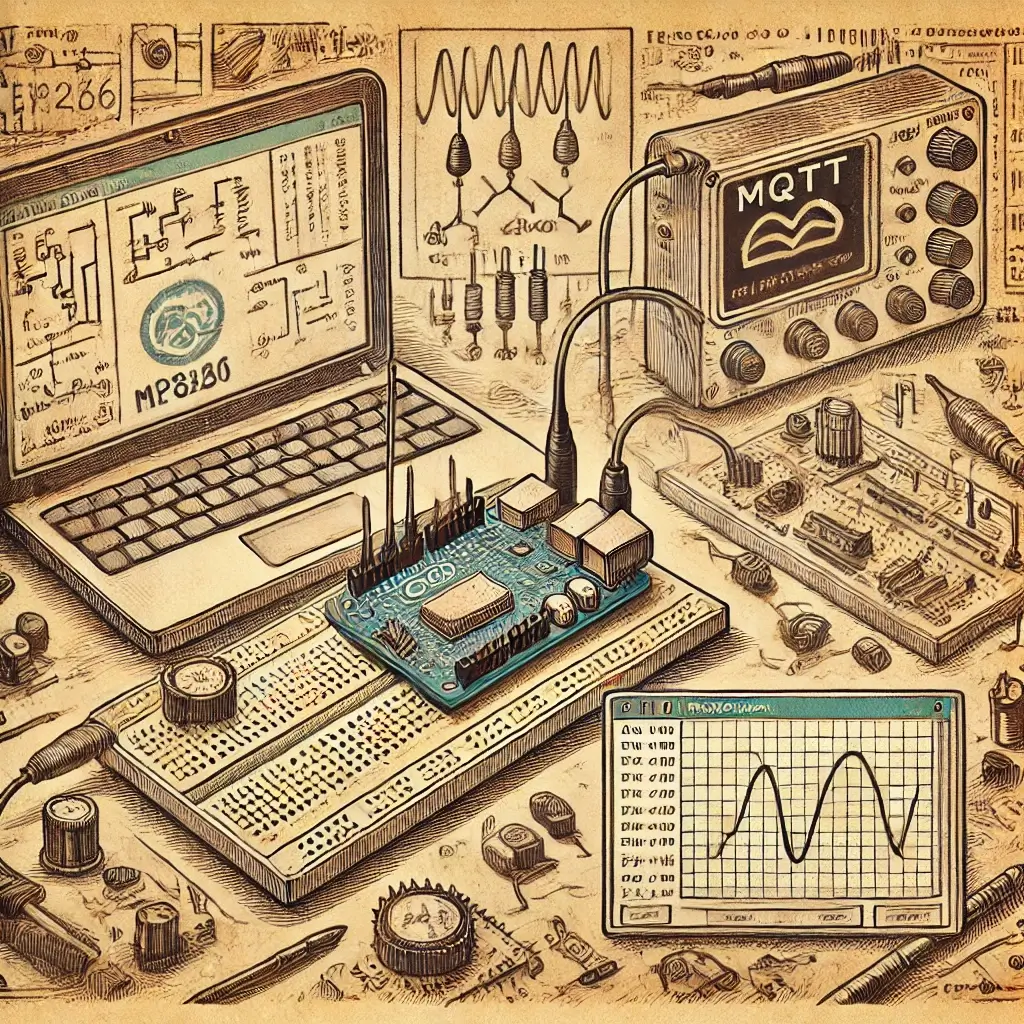
In this tutorial, you’ll learn how to use MQTT for IoT messaging, enabling an ESP8266 to send data to an MQTT broker and subscribe to receive messages. MQTT (Message Queuing Telemetry Transport) is a lightweight protocol perfect for IoT applications.
Components Required
- 1 x ESP8266 (or ESP32)
- MQTT broker (e.g., Mosquitto or HiveMQ Cloud)
- Temperature or other sensor (optional for data input)
- Jumper wires and breadboard (optional)
No Ads Available.
System Overview
The ESP8266 will publish sensor data (e.g., temperature readings) to an MQTT broker at regular intervals. Any device subscribing to the topic will receive the published data. Similarly, you can send control commands to the ESP8266 via the broker to perform actions (e.g., turning on an LED).
Setting Up the MQTT Broker
You can either install Mosquitto locally or use a cloud service like HiveMQ Cloud for the MQTT broker. The broker will manage message distribution between the ESP8266 (publisher) and any subscribers (e.g., mobile apps or other devices).
Cloud MQTT Broker Setup
If using HiveMQ Cloud, create an account and generate a unique broker address, username, and password. You will use this information to connect the ESP8266 to the broker.
Wiring the ESP8266
If using a sensor (e.g., DHT11 for temperature), wire it to the ESP8266:
- Connect the VCC pin of the sensor to the 3.3V pin of the ESP8266.
- Connect GND to ground.
- Connect the signal pin (e.g., data) to one of the digital pins (D4, GPIO2).
Arduino Code
Below is the code to set up MQTT communication on the ESP8266:
// Required libraries
#include <ESP8266WiFi.h>
#include <PubSubClient.h>

// WiFi and MQTT Broker details
const char* ssid = "Your_SSID";
const char* password = "Your_PASSWORD";
const char* mqtt_broker = "broker.hivemq.com";
const char* topic = "esp/test";
const char* mqtt_username = "Your_Username";
const char* mqtt_password = "Your_Password";
const int mqtt_port = 1883;

WiFiClient espClient;
PubSubClient client(espClient);

void setup() {
  Serial.begin(115200);
  WiFi.begin(ssid, password);

  while (WiFi.status() != WL_CONNECTED) {
    delay(1000);
    Serial.println("Connecting to WiFi...");
  }
  Serial.println("Connected to WiFi");

  client.setServer(mqtt_broker, mqtt_port);
  client.setCallback(callback);

  while (!client.connected()) {
    String client_id = "esp8266-client-";
    client_id += String(WiFi.macAddress());
    if (client.connect(client_id.c_str(), mqtt_username, mqtt_password)) {
      Serial.println("Connected to MQTT broker");
      client.subscribe(topic);
    } else {
      delay(2000);
    }
  }
}

void callback(char* topic, byte* message, unsigned int length) {
  Serial.print("Message received from topic: ");
  Serial.println(topic);
  String msg;
  for (int i = 0; i < length; i++) {
    msg += (char)message[i];
  }
  Serial.println("Message: " + msg);
}

void loop() {
  client.loop();

  String data = "Hello from ESP8266";
  client.publish(topic, data.c_str());

  delay(5000);
}
Code Explanation
- WiFi and MQTT Setup: The ESP8266 connects to WiFi using the SSID and password, and to the MQTT broker using the broker address, port, username, and password.
- client.setCallback(): Registers the function that will handle any messages received via the subscribed topic.
- client.publish(): Publishes a message to the defined topic, sending the data (e.g., sensor reading or status update) to the broker.
- client.subscribe(): Subscribes to the topic to listen for any control messages or commands.
Testing the System
- Upload the code to the ESP8266.
- Monitor the serial output to see if the ESP successfully connects to WiFi and the MQTT broker.
- Use an MQTT client (e.g., MQTT Explorer, or another ESP) to subscribe to the topic esp/test to receive published messages.
- Send messages to the ESP via the MQTT broker to test device control through the
callback()function.
Conclusion
You've now set up basic MQTT communication with the ESP8266. The ESP can publish sensor data to the broker, and you can send control commands back to the ESP from any subscribed device. This setup is essential for building IoT systems where multiple devices communicate seamlessly.