Introduction
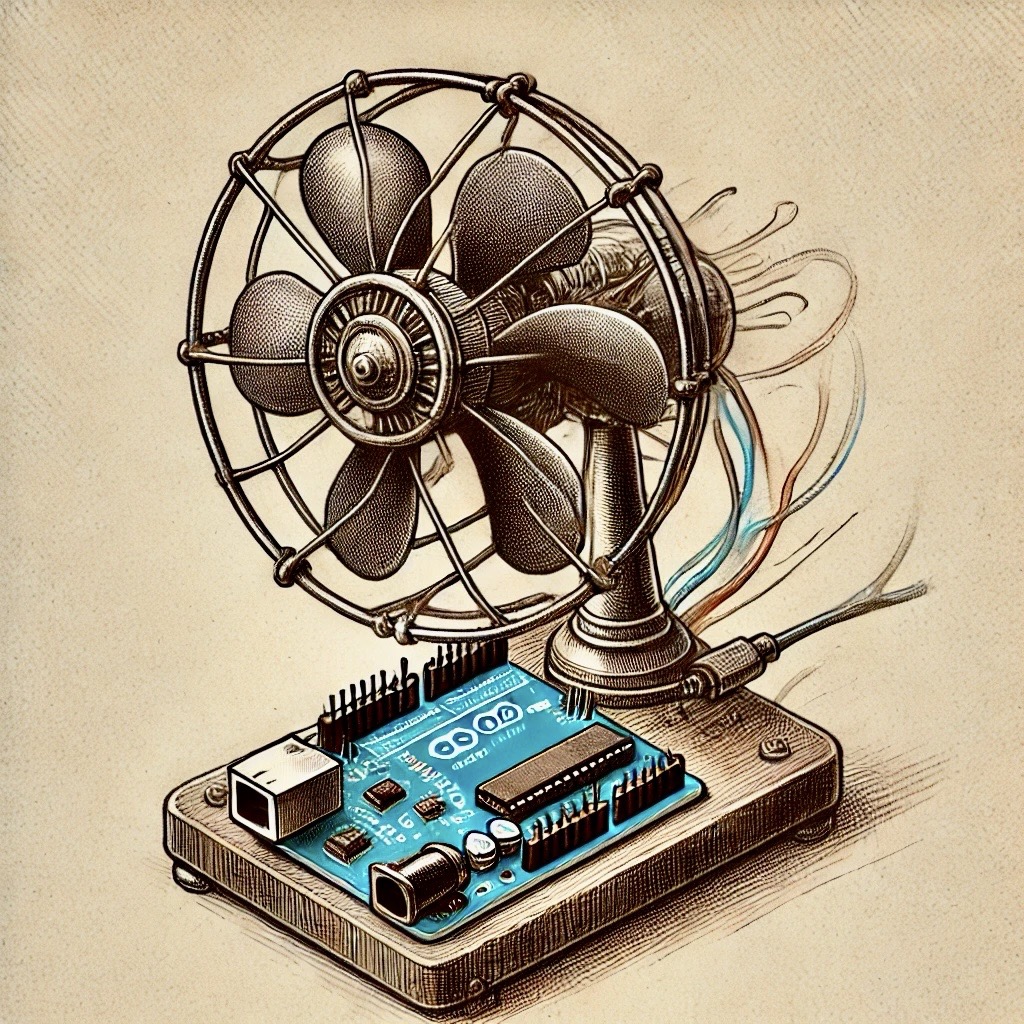
This tutorial demonstrates how to build a remote-controlled fan using a microcontroller like Arduino. The project focuses on integrating actuators and sensors for remote control functionality. The following sections will guide you through the necessary components, the setup, and the steps to complete the project successfully.
Components Required
Here’s a list of the essential components needed for the remote-controlled fan setup:
- Microcontroller (e.g., Arduino)
- Relay module
- IR receiver module
- Power supply (e.g., 5V)
- Fan motor
- IR remote control
- Wires and breadboard
- Jumper wires
Steps
Follow the steps outlined below to build your remote-controlled fan.
- Connect the components: Begin by connecting the microcontroller, relay, IR receiver, and fan motor on a breadboard as shown in the schematic.
- Wire up the power supply: Make sure the microcontroller and relay are powered appropriately, typically with a 5V supply.
- Upload the code: Use the Arduino IDE to upload the provided code to the microcontroller. Ensure you have the necessary libraries installed.
- Test the system: Once everything is connected, test the system by pressing the power button on the IR remote. The fan should turn on and off based on the signal received from the remote.
Code Example
Here is the sample code to control the fan via the IR remote:
// Include necessary libraries
#include

// Pin Definitions
int relayPin = 7;
IRrecv irrecv(11);
decode_results results;

void setup() {
  Serial.begin(9600);
  irrecv.enableIRIn(); // Start the receiver
  pinMode(relayPin, OUTPUT);
}

void loop() {
  if (irrecv.decode(&results)) {
    long int decCode = results.value;
    Serial.println(decCode);  // Print the received code
    if (decCode == 12345) {   // Replace with your remote’s code
      digitalWrite(relayPin, HIGH);  // Turn on the fan
    }
    else {
      digitalWrite(relayPin, LOW);   // Turn off the fan
    }
    irrecv.resume();  // Receive the next value
  }
}
Applications
The remote-controlled fan system can be applied to a variety of real-world situations:
- Home Automation: Control appliances remotely with ease.
- Robotics: Actuators and sensors integrated into robotic systems.
- Prototyping: Ideal for experimenting with remote control systems in prototyping.
- Educational Purposes: Teach students about actuators, sensors, and basic automation.
Troubleshooting
If you encounter issues during setup, here are some troubleshooting tips:
- Fan doesn't turn on: Check the wiring of the relay module and ensure it's properly connected to the microcontroller.
- IR remote not working: Ensure the IR receiver module is correctly positioned and is within the operating range of the remote.
- Code errors: Verify the code uploaded to the microcontroller and confirm that the correct remote code is used in the program.
Conclusion
By following this tutorial, you’ve learned how to build a remote-controlled fan using a microcontroller. This project combines practical applications of actuators, sensors, and remote control, allowing you to expand your knowledge in automation and embedded systems. Feel free to experiment with other actuators and sensors to extend the functionality of your project!
