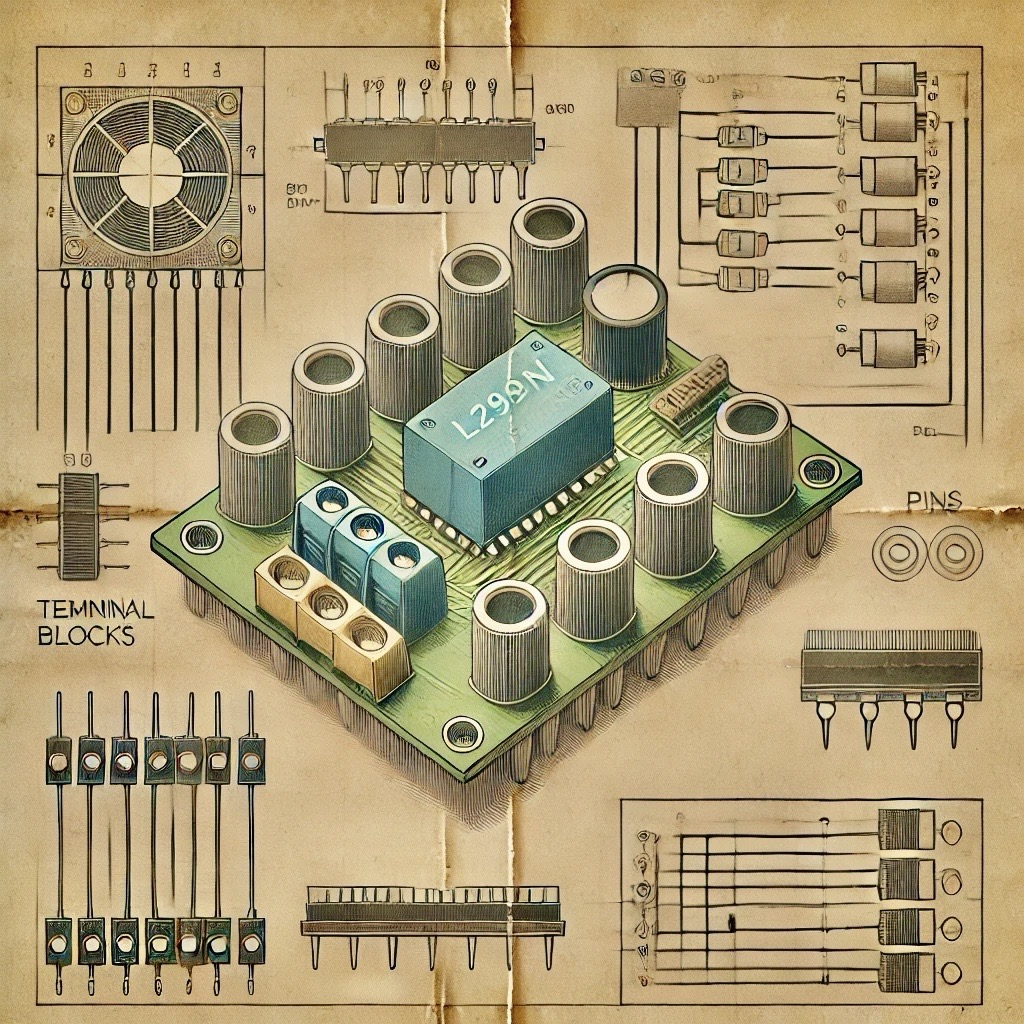
Key Features of the A988 Stepper Motor Driver
- Microstepping Support: Supports full, half, quarter, and eighth-step resolutions, improving motor smoothness and reducing noise.
- Adjustable Current Control: Allows fine-tuning of motor torque and power efficiency with a built-in potentiometer.
- Overheat and Overcurrent Protection: Ensures safe operation and extends module lifespan.
- Wide Voltage Compatibility: Operates between 8V and 35V, suitable for most NEMA 17 and smaller stepper motors.
- Compact Design: Small size ideal for DIY and compact electronics projects, with a standard pinout for easy integration.
Wiring Example
Follow these steps to wire the A988 Stepper Motor Driver with your stepper motor and microcontroller:
- Power Supply: Connect an 8–35V DC power supply to the driver’s VCC and GND pins.
- Motor Connections: Attach the stepper motor wires to the A+, A-, B+, and B- pins.
- Control Pins: Connect the STEP and DIR pins to your microcontroller for motion control. Use the ENABLE pin to disable the driver when not in use (optional).
Applications of the A988 Stepper Motor Driver
- 3D Printers: For accurate extrusion and smooth axis movement.
- Robotics: Ideal for moving robot arms and wheels with precision.
- CNC Machines: Ensures accurate positioning for cutting, engraving, and other tasks.
- DIY Projects: Suitable for automation, sliders, and creative motion control setups.
Arduino Integration Example
Components Needed:
- A988 Stepper Motor Driver
- Stepper Motor (e.g., NEMA 17)
- Arduino Uno
- 12V Power Supply
- Jumper Wires
Wiring:
Connect the components as follows:
- Driver VCC and GND to power supply +12V and GND.
- Stepper Motor coils to A+, A-, B+, B- on the driver.
- Driver STEP to Arduino digital pin 2.
- Driver DIR to Arduino digital pin 3.
- Driver ENABLE to Arduino digital pin 4 (optional).
Code:
#define STEP_PIN 2
#define DIR_PIN 3
#define ENABLE_PIN 4

void setup() {
  pinMode(STEP_PIN, OUTPUT);
  pinMode(DIR_PIN, OUTPUT);
  pinMode(ENABLE_PIN, OUTPUT);
  digitalWrite(ENABLE_PIN, LOW);  // Enable the driver
}

void loop() {
  digitalWrite(DIR_PIN, HIGH);  // Set direction
  for (int i = 0; i < 200; i++) { // Rotate one full stepper revolution
    digitalWrite(STEP_PIN, HIGH);
    delayMicroseconds(800);  // Adjust speed here
    digitalWrite(STEP_PIN, LOW);
    delayMicroseconds(800);
  }
  delay(1000);  // Pause
  digitalWrite(DIR_PIN, LOW);  // Reverse direction
  for (int i = 0; i < 200; i++) {
    digitalWrite(STEP_PIN, HIGH);
    delayMicroseconds(800);
    digitalWrite(STEP_PIN, LOW);
    delayMicroseconds(800);
  }
  delay(1000);  // Pause
}
Advanced Setup
For more complex projects, consider integrating multiple drivers, using microstepping, or adding feedback for closed-loop control.
