Introduction
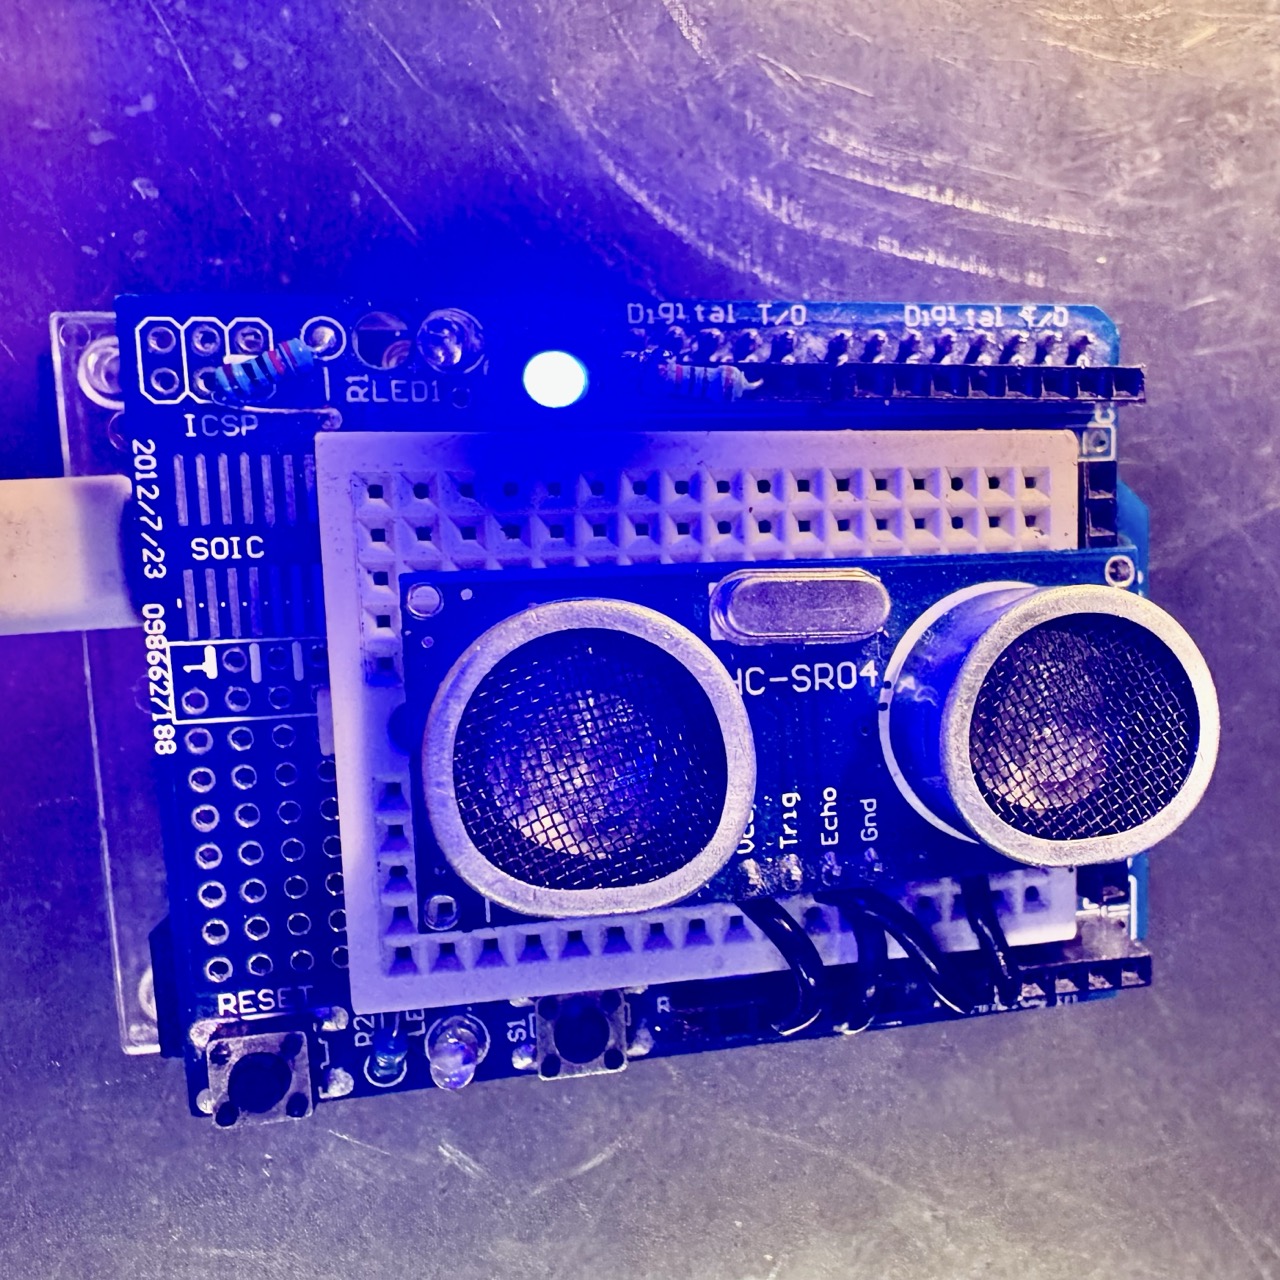
In this experiment, you will use an ultrasonic sensor to measure the distance to an object. Based on the measured distance, an LED will turn on when the object is closer than a specified threshold.

Objective
The goal of this experiment is to interface an ultrasonic sensor with a microcontroller to measure distance and perform actions based on proximity.
Components Required
- Microcontroller (e.g., Arduino Uno, ESP32)
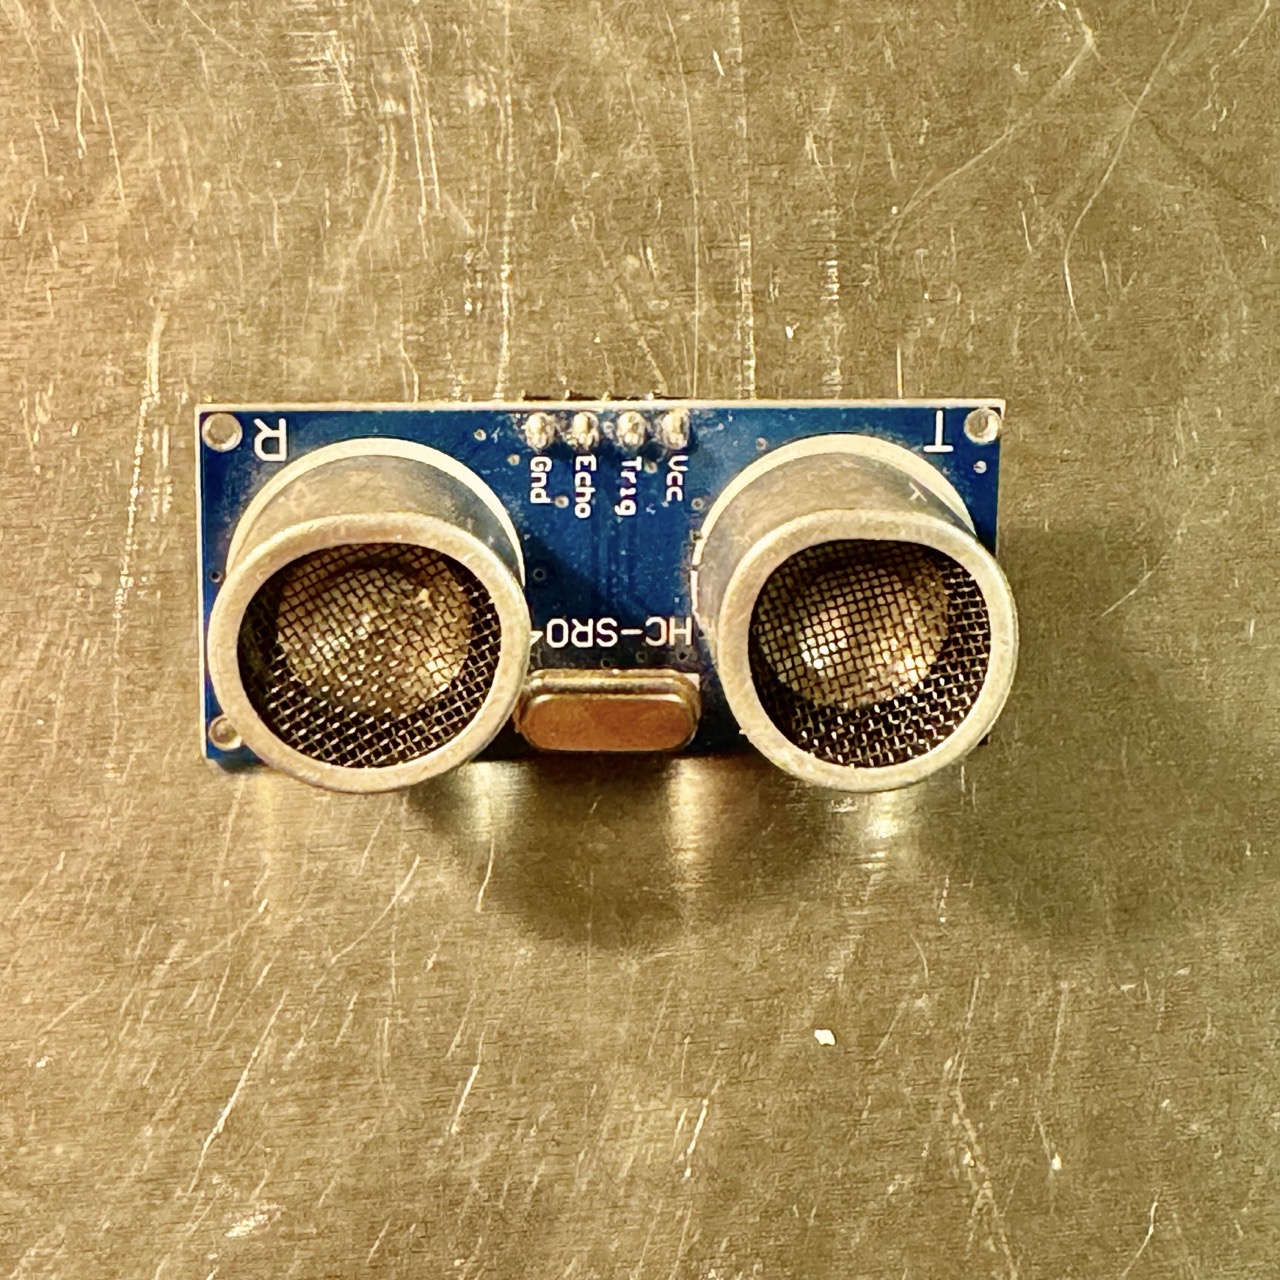
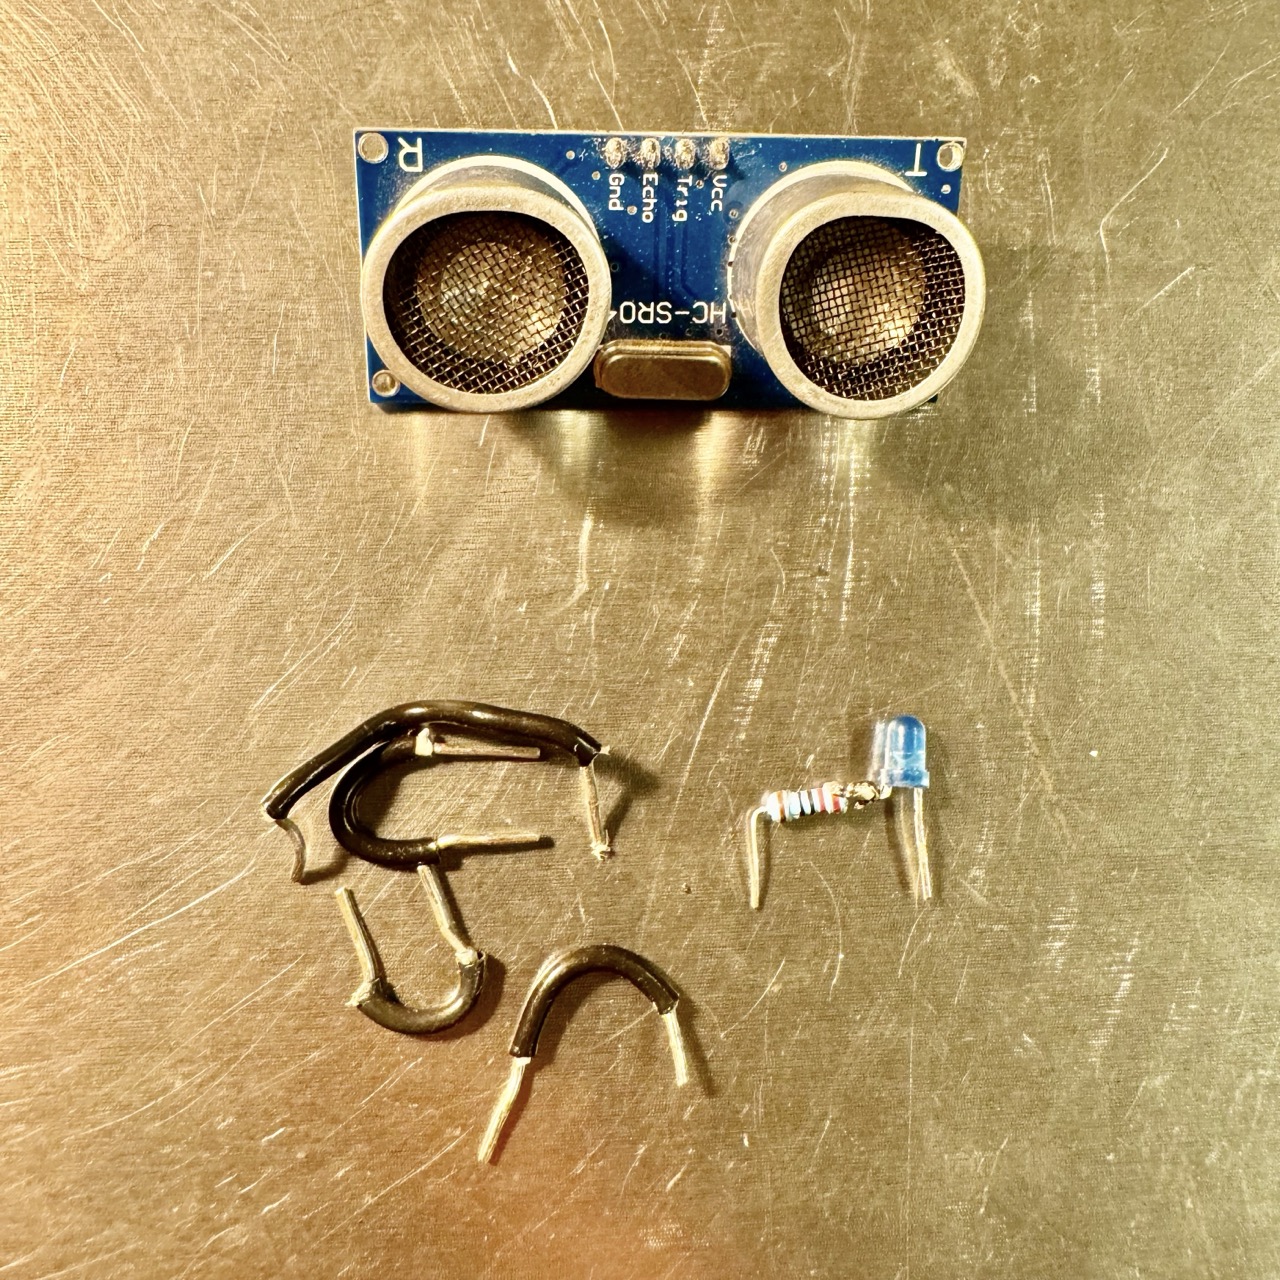
- Ultrasonic sensor (HC-SR04 or similar)
- LED
- 220 ohm resistor
- Breadboard
- Jumper wires
- USB cable for programming

Circuit Diagram
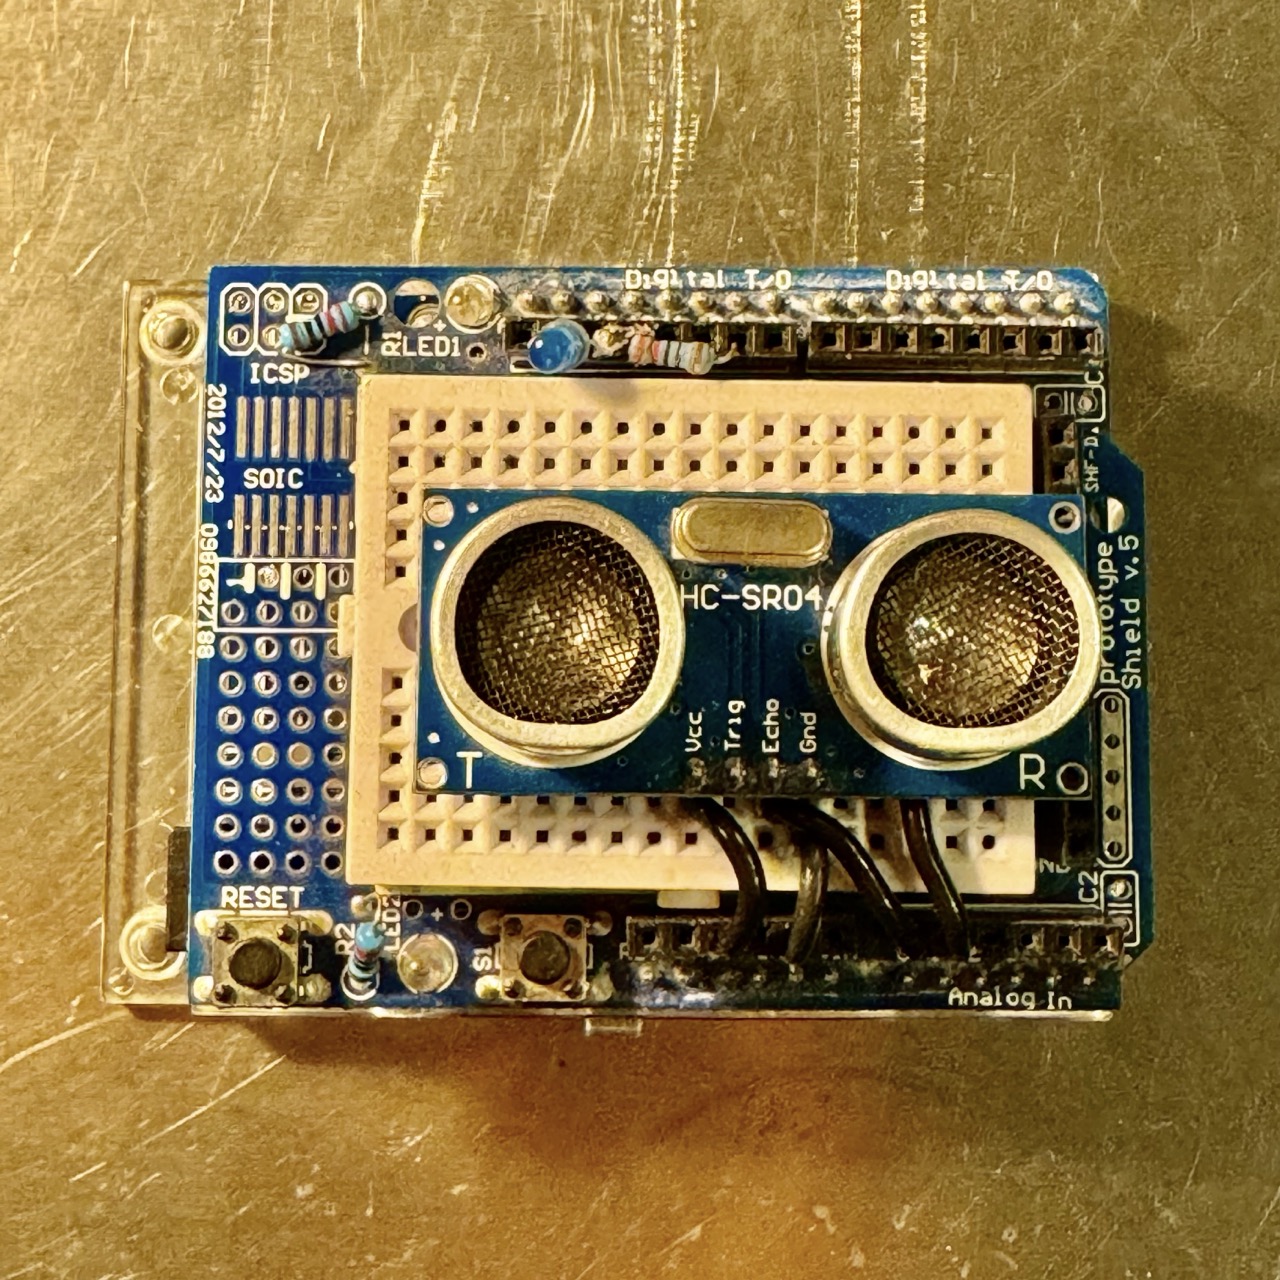
Connect the components as follows:
- VCC of the ultrasonic sensor to 5V on the microcontroller.
- GND of the ultrasonic sensor to GND on the microcontroller.
- Trig pin of the ultrasonic sensor to GPIO pin A1.
- Echo pin of the ultrasonic sensor to GPIO pin A0.
- Connect the LED to GPIO pin 9 via a 220 ohm resistor.

Code
Use the following code to measure distance and control the LED:
// Pin Definitions
const int trigPin = A1;     // Ultrasonic sensor Trig pin
const int echoPin = A0;     // Ultrasonic sensor Echo pin
const int ledPin = 9;       // LED pin
const int distanceThreshold = 10; // Distance threshold in centimeters

void setup() {
    Serial.begin(115200);
    pinMode(trigPin, OUTPUT);
    pinMode(echoPin, INPUT);
    pinMode(ledPin, OUTPUT);
    digitalWrite(ledPin, LOW);
    Serial.println("Ultrasonic Sensor Distance Measurement Initialized");
}

void loop() {
    // Send a 10-microsecond pulse to the Trig pin
    digitalWrite(trigPin, LOW);
    delayMicroseconds(2);
    digitalWrite(trigPin, HIGH);
    delayMicroseconds(10);
    digitalWrite(trigPin, LOW);

    // Measure the time for the Echo pin signal to return
    long duration = pulseIn(echoPin, HIGH);

    // Convert the duration to distance in centimeters
    int distance = duration * 0.034 / 2;

    Serial.print("Distance: ");
    Serial.print(distance);
    Serial.println(" cm");

    // Control the LED based on distance
    if (distance > 0 && distance < distanceThreshold) {
        digitalWrite(ledPin, HIGH);
    } else {
        digitalWrite(ledPin, LOW);
    }

    delay(100);
}
Procedure
- Connect the components as per the circuit diagram.
- Copy the code above and paste it into your Arduino IDE.
- Select the correct board and port in Tools.
- Upload the code to your microcontroller.
- Open the Serial Monitor and set the baud rate to 115200.
- Place an object in front of the ultrasonic sensor and observe the distance readings in the Serial Monitor.
- When the object is closer than 10 cm (or your specified threshold), the LED will turn on.
How It Works
- The ultrasonic sensor sends out ultrasonic waves using the Trig pin.
- When the waves hit an object, they are reflected back to the sensor and received on the Echo pin.
- The time taken for the waves to return is measured, and the distance is calculated using the formula:
- The LED turns on if the distance is less than the threshold value.
Distance = (Duration * Speed of Sound) / 2

Troubleshooting
- Ensure the ultrasonic sensor is properly powered (check the operating voltage).
- Verify the connections, especially the Trig and Echo pins.
- Place the sensor in a location free from obstructions to avoid false readings.
- If distance readings are inconsistent, try increasing the delay between measurements.
- Ensure your object is large enough to reflect the ultrasonic waves effectively.
