Introduction
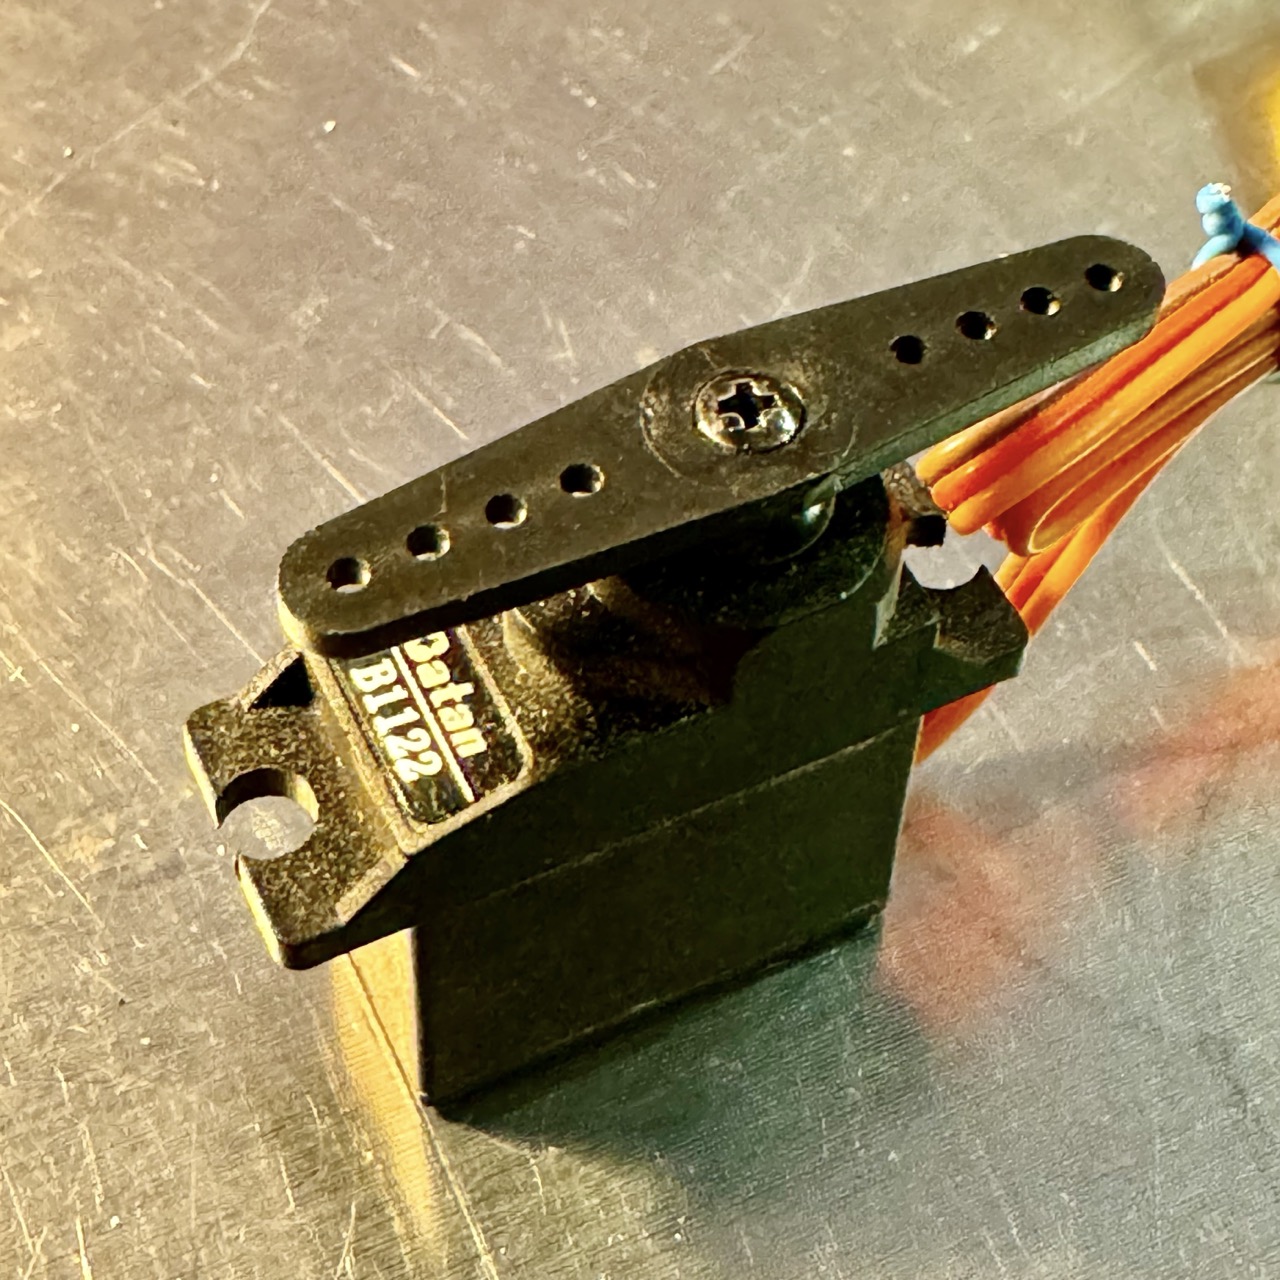
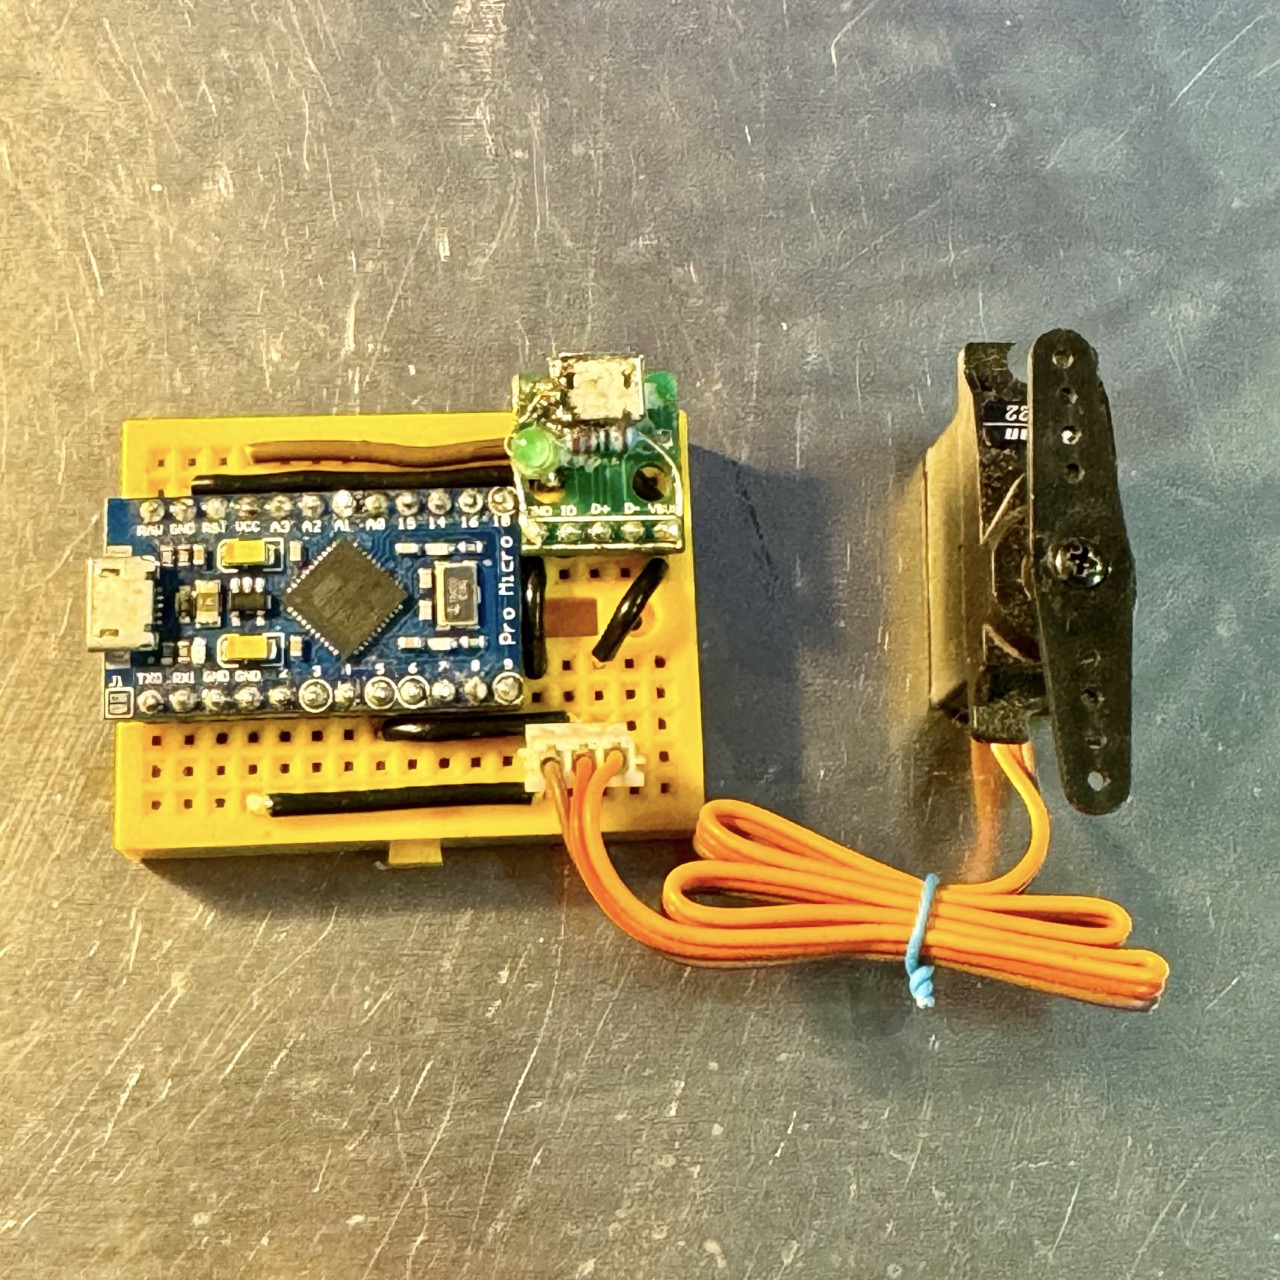
In this experiment, we will learn how to control a servo motor using an Arduino. A servo motor can rotate to a specified position, making it ideal for precise control in robotics and automation projects. This demonstration uses the Servo library to sweep the servo motor from 0 to 180 degrees and back.

Components Needed
- Arduino (e.g., Uno, Nano)
- Servo motor
- Breadboard and jumper wires
- USB cable for programming
Circuit Setup
- Connect the GND pin of the servo motor to the GND pin on the Arduino.
- Connect the VCC (or power) pin of the servo motor to the 5V pin on the Arduino.
- Connect the signal pin of the servo motor to a digital PWM pin on the Arduino (e.g., pin 9).
Ensure the servo motor is powered by the Arduino or an external power supply, depending on the motor's current requirements.

Code for Servo Sweep
Upload the following code to your Arduino to make the servo motor sweep:
// Include the Servo library
#include

// Create a servo object
Servo myServo;

// Variable to store servo position
int pos = 0;

void setup() {
    // Attach the servo to pin 9
    myServo.attach(9);
}

void loop() {
    // Sweep the servo from 0 to 180 degrees
    for (pos = 0; pos <= 180; pos += 1) {
        myServo.write(pos);   // Move servo to position
        delay(15);            // Wait for the servo to reach position
    }

    // Sweep the servo back from 180 to 0 degrees
    for (pos = 180; pos >= 0; pos -= 1) {
        myServo.write(pos);   // Move servo to position
        delay(15);            // Wait for the servo to reach position
    }
}
Explanation
This code makes the servo motor sweep back and forth by incrementing and decrementing its position. Here's how the code works:
myServo.attach(pin): Assigns the servo motor to a digital PWM pin.myServo.write(position): Moves the servo to the specified angle (0–180 degrees).delay(milliseconds): Pauses to allow the servo motor to reach its position.- The
forloops ensure a smooth sweep motion by incrementing or decrementing the position gradually.
Troubleshooting
- If the servo does not move, check the wiring and ensure the power source can supply sufficient current.
- Verify that the servo's signal pin is connected to the correct Arduino pin (e.g., pin 9).
- If the servo jitters, consider using an external power supply to power the servo motor.
- Ensure the Servo library is installed. It is included by default in the Arduino IDE.
