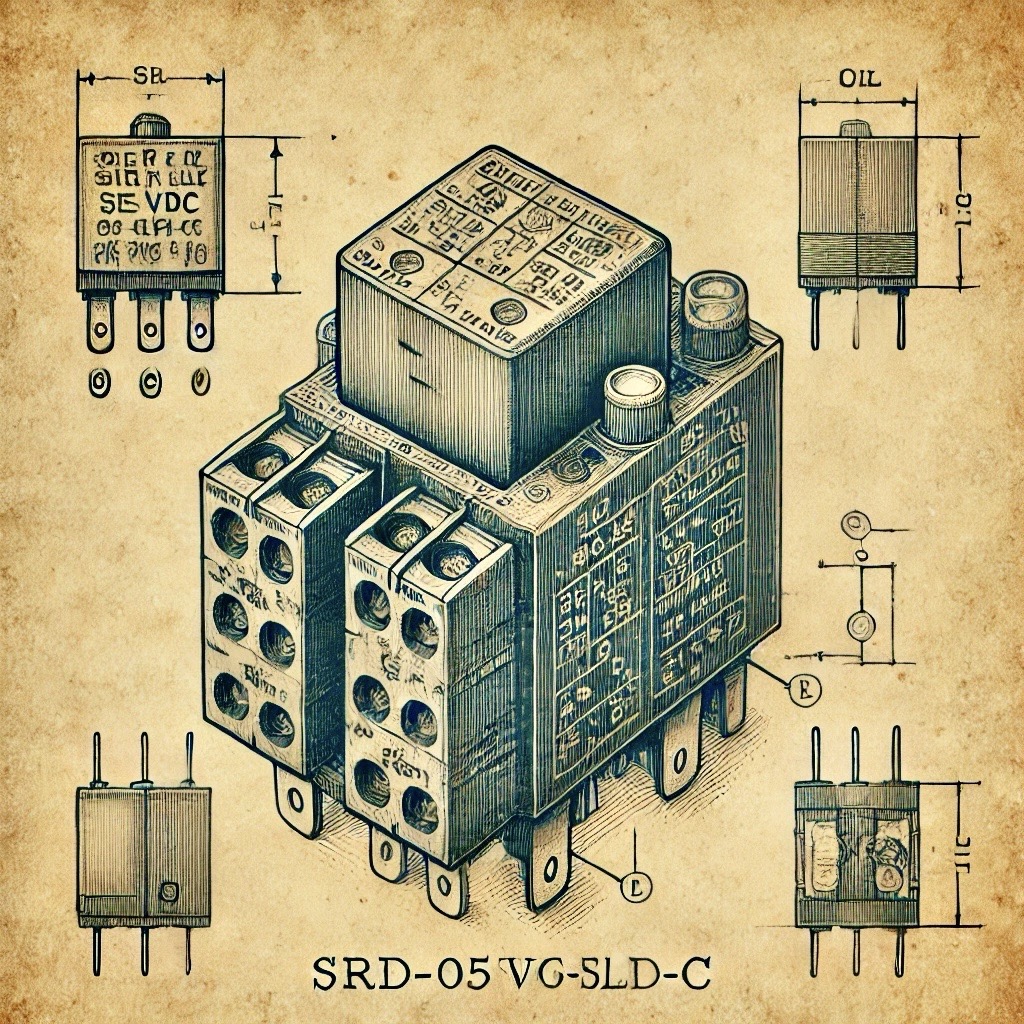
Required Components
- Arduino board (e.g., Uno, Nano)
- Relay module (1-channel or more)
- High-voltage device (e.g., lamp, fan, or appliance)
- Jumper wires
- Breadboard (optional)
- Power supply for the high-voltage device
Wiring Instructions
Follow these steps to connect the relay module to the Arduino and the high-voltage device:
- Connect the VCC pin of the relay module to the 5V pin on the Arduino.
- Connect the GND pin of the relay module to the GND pin on the Arduino.
- Connect the IN pin (control pin) of the relay module to a digital pin on the Arduino (e.g., pin 7).
- For the high-voltage device:
- Connect one terminal to the normally open (NO) terminal of the relay.
- Connect the other terminal to the AC power supply.
- Connect the common (COM) terminal of the relay to the AC power supply as well.
Code Explanation
The Arduino code controls the relay using digital signals:
- The relay is connected to a digital pin (e.g., pin 7).
- A
HIGHsignal from the Arduino closes the relay, allowing current to flow through the high-voltage device. - A
LOWsignal opens the relay, cutting off the current and turning off the device. - The
delay()function creates a simple timer to toggle the relay on and off.
Arduino Code
const int relayPin = 7; // Pin connected to the relay module

void setup() {
    pinMode(relayPin, OUTPUT); // Set relay pin as an output
    digitalWrite(relayPin, LOW); // Initialize relay as OFF
}

void loop() {
    digitalWrite(relayPin, HIGH); // Turn the relay ON (device ON)
    delay(5000); // Keep it ON for 5 seconds
    digitalWrite(relayPin, LOW); // Turn the relay OFF (device OFF)
    delay(5000); // Keep it OFF for 5 seconds
}
Upload and Test
- Assemble the circuit according to the wiring instructions.
- Connect your Arduino to your computer via USB.
- Upload the provided code using the Arduino IDE.
- Observe the high-voltage device turning ON and OFF in 5-second intervals.
How It Works
The relay acts as an electrically operated switch:
- When the Arduino sends a
HIGHsignal to the relay, it closes the circuit, allowing current to flow through the high-voltage device. - When the signal is
LOW, the relay opens the circuit, cutting off current and turning the device OFF. - This isolation ensures the Arduino handles only low voltage, keeping the high-voltage circuitry separate and safe.
Safety Precautions
Working with high-voltage devices requires caution:
- Ensure the relay is rated for the voltage and current of your device.
- Use insulated tools and wires to avoid accidental shocks.
- Never touch live wires or connections.
- Use a case or enclosure to protect the relay and connections.
Applications
Here are some practical uses for this project:
- Home automation to control lights or fans.
- Industrial automation for machines or appliances.
- Temperature or motion-triggered systems using additional sensors.
Troubleshooting
If the project doesn't work as expected, check the following:
- Ensure the relay module is receiving power and connected properly.
- Verify the control pin connection between the Arduino and the relay.
- Double-check your wiring for loose connections.
- Test the high-voltage device with a manual switch to ensure it works.
Conclusion
This project demonstrates how to safely control high-voltage devices using an Arduino and a relay module. By expanding the code and setup, you can create automated and remotely controlled systems for various applications.
