Weather Station Using I2C

Build a weather station with Arduino to measure temperature, humidity, and pressure using I2C sensors. Ideal for hobbyists and automation enthusiasts.

Build a weather station with Arduino to measure temperature, humidity, and pressure using I2C sensors. Ideal for hobbyists and automation enthusiasts.
Difficulty Level: Intermediate
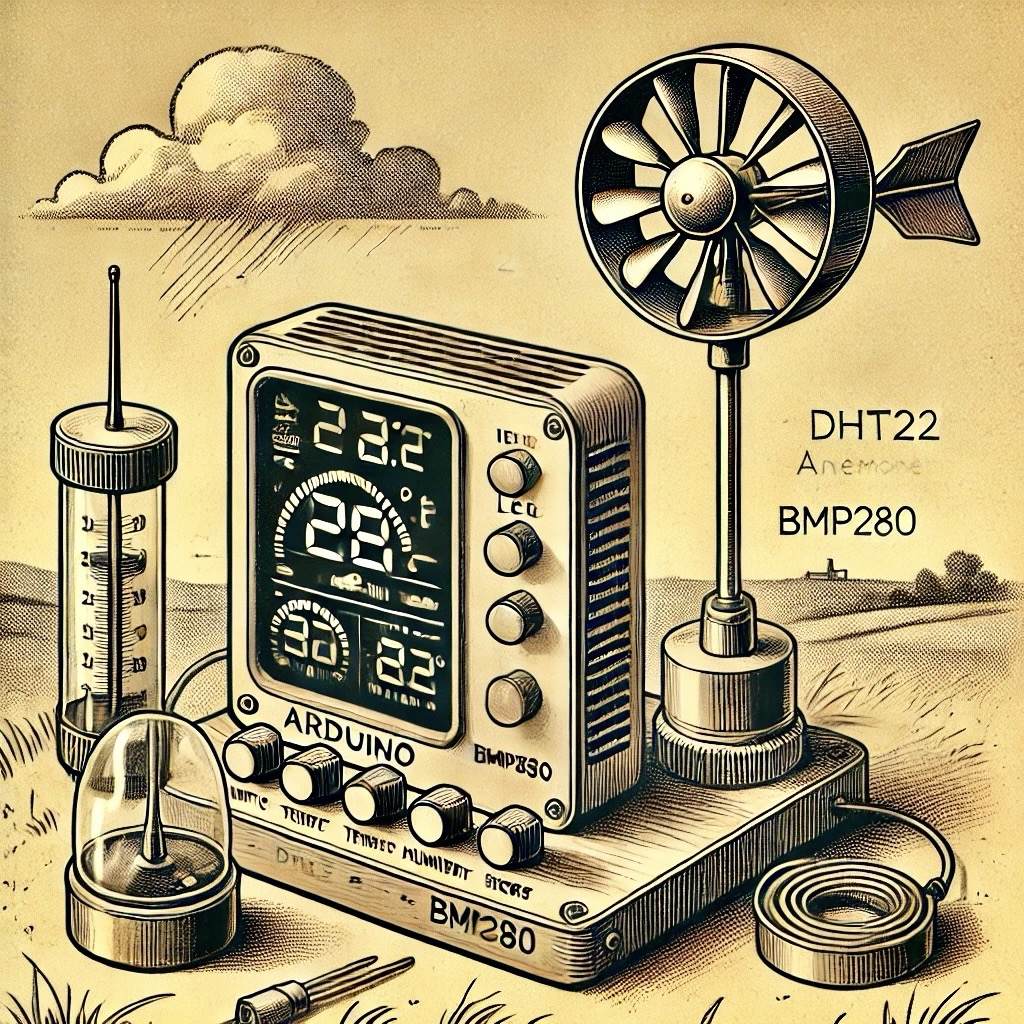
In this project, we will build a simple weather station using I2C sensors to measure temperature, humidity, and pressure. The data will be displayed on an I2C LCD, making it easy to monitor environmental conditions in real time. This project is ideal for enthusiasts looking to explore IoT and environmental monitoring.
Follow these connections to build the circuit:
We will use three libraries for this project:
Adafruit_BMP280 for reading the pressure sensorDHT for reading temperature and humidity from the DHT22 sensorLiquidCrystal_I2C for controlling the 16x2 I2C LCDThe sensors will send data to the Arduino via I2C, and the Arduino will then display the temperature, humidity, and pressure on the LCD.
Below is the Arduino code for the weather station:
#include
#include
#include
#include
#include

// Define pin for DHT sensor and type
#define DHTPIN 2
#define DHTTYPE DHT22

// Initialize DHT sensor
DHT dht(DHTPIN, DHTTYPE);

// Initialize BMP280 sensor
Adafruit_BMP280 bmp;

// Initialize I2C LCD (address 0x27)
LiquidCrystal_I2C lcd(0x27, 16, 2);

void setup() {
  Serial.begin(9600);
  dht.begin();  // Start DHT sensor
  bmp.begin();  // Start BMP280 sensor
  lcd.begin();  // Start I2C LCD
  lcd.backlight();  // Turn on backlight
  lcd.setCursor(0, 0);
  lcd.print("Weather Station");
}

void loop() {
  delay(2000);  // Wait for sensor readings

  // Read temperature and humidity from DHT22
  float temp = dht.readTemperature();
  float hum = dht.readHumidity();

  // Read pressure from BMP280
  float pressure = bmp.readPressure() / 100.0F;  // Convert Pa to hPa

  // Check if readings are valid
  if (isnan(temp) || isnan(hum)) {
    lcd.setCursor(0, 1);
    lcd.print("Error reading DHT");
    return;
  }

  // Display the readings on LCD
  lcd.clear();
  lcd.setCursor(0, 0);
  lcd.print("Temp: ");
  lcd.print(temp);
  lcd.print(" C");

  lcd.setCursor(0, 1);
  lcd.print("Humidity: ");
  lcd.print(hum);
  lcd.print(" %");

  lcd.setCursor(0, 1);
  lcd.print("Pressure: ");
  lcd.print(pressure);
  lcd.print(" hPa");

  // Also print data to serial monitor
  Serial.print("Temperature: ");
  Serial.print(temp);
  Serial.println(" C");

  Serial.print("Humidity: ");
  Serial.print(hum);
  Serial.println(" %");

  Serial.print("Pressure: ");
  Serial.print(pressure);
  Serial.println(" hPa");
}
This weather station demonstrates the use of I2C communication for reading sensor data and displaying it on an I2C LCD. You can further expand the project by adding other environmental sensors, logging the data to an SD card, or transmitting it to the internet for remote monitoring.