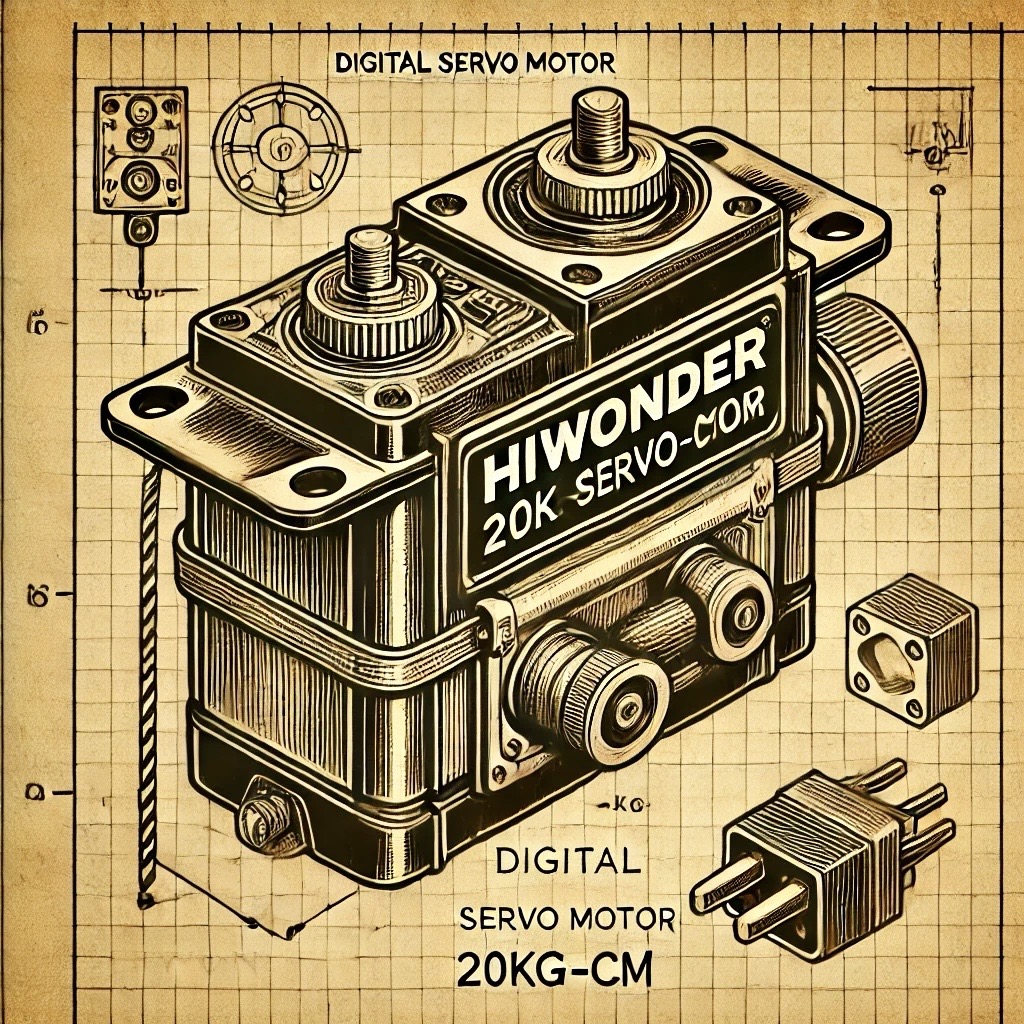
Objective
The goal of this tutorial is to guide you through the process of controlling a servo motor using an Arduino board. By the end of this project, you'll be able to manipulate the position of the servo motor by sending PWM signals from the Arduino, making it a key skill for building robotics, automation systems, and other interactive devices.
This tutorial will help you understand the basics of hardware interfacing, motor control, and programming logic, setting a foundation for more complex projects in the future.
What You'll Need
- 1 x Arduino Board (e.g., Arduino Uno)
- 1 x Servo Motor
- Jumper Wires
- External Power Supply (optional, if servo requires more power)
Step-by-Step Wiring for Servo Motor
Follow these simple steps to connect the servo motor to your Arduino:
- Connect the red wire (VCC) of the servo to the 5V pin on the Arduino (or an external 5V supply).
- Connect the brown wire (GND) of the servo to the GND pin on the Arduino (or external GND).
- Connect the yellow or orange wire (signal) of the servo to a digital PWM pin (e.g., pin 9) on the Arduino.
How the Code Works
This code controls the position of the servo by sending a PWM (Pulse Width Modulation) signal to the servo’s control wire.
Main Functions in Arduino Code
Servo.attach(): Initializes the servo motor and sets the pin that controls the servo.servo.write(): Sets the angle (0-180 degrees) to rotate the servo motor.delay(): Pauses the program for a specific time (e.g., 1000ms = 1 second).
Arduino Code
Copy and paste the code below into the Arduino IDE:
// Servo Motor Control

#include   // Include the Servo library

Servo myServo;  // Create a Servo object

void setup() {
  myServo.attach(9);  // Attach the servo to pin 9
}

void loop() {
  myServo.write(0);   // Move servo to 0 degrees
  delay(1000);        // Wait for 1 second
  myServo.write(90);  // Move servo to 90 degrees
  delay(1000);        // Wait for 1 second
  myServo.write(180); // Move servo to 180 degrees
  delay(1000);        // Wait for 1 second
}
How to Upload the Code
- Connect your Arduino to your PC using a USB cable.
- Open the Arduino IDE and paste the code above into the editor.
- Select your board type and the correct COM port in the IDE.
- Click the upload button to send the code to the Arduino.
- The servo should move between 0, 90, and 180 degrees.
Tips for Success
- Ensure the servo motor is correctly wired to avoid damage.
- If the servo doesn't move, check that it’s receiving enough power.
- If your servo has jittering or unstable behavior, try a separate power supply for the servo.
Conclusion
Congratulations! You've successfully learned how to control a servo motor with Arduino. This project is a great foundation for building more complex robotics or automation systems. Stay tuned for more tutorials at Microautomation.no!
