Needed Components with eBay Links
Understanding Serial Communication
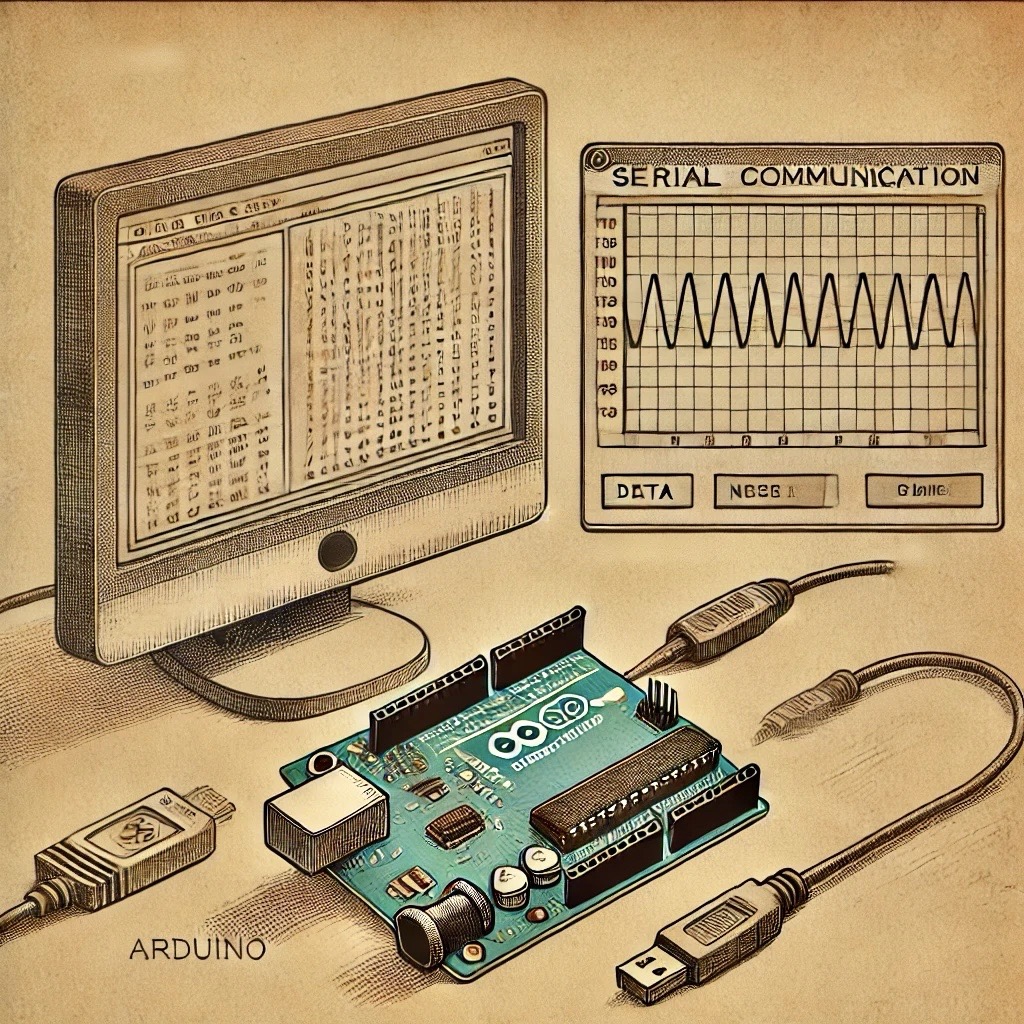
Serial communication is a method of transmitting data one bit at a time. The Arduino has a built-in serial port that communicates over pins 0 (RX) and 1 (TX). When connected to your computer via USB, these pins allow the Arduino to send and receive data to and from the serial monitor in the Arduino IDE.
Key Functions
Serial.begin(baudRate): Initializes the serial communication with a specified baud rate (speed of communication in bits per second).Serial.print(data): Sends data to the serial monitor.Serial.println(data): Sends data to the serial monitor, followed by a newline.Serial.available(): Checks if data is available to read from the serial port.Serial.read(): Reads incoming data from the serial port.
Arduino Code
Here’s the code to test serial communication:
// Serial Communication Experiment

void setup() {
  // Start serial communication at 9600 baud
  Serial.begin(9600);
  Serial.println("Serial communication started");
}

void loop() {
  // Check if there is data available to read
  if (Serial.available() > 0) {
    // Read the incoming data
    char incomingData = Serial.read();

    // Print the received data back to the serial monitor
    Serial.print("Received: ");
    Serial.println(incomingData);

    // Send a response based on the received data
    if (incomingData == 'H') {
      Serial.println("Hello!");
    } else if (incomingData == 'B') {
      Serial.println("Goodbye!");
    }
  }

  delay(100);
}
Upload & Test
- Connect your Arduino to your computer using a USB cable.
- Open the Arduino IDE and copy the code above into the editor.
- In the IDE, select your board and the correct port.
- Upload the code by clicking the upload button.
- Open the Serial Monitor in the Arduino IDE (Tools > Serial Monitor) and set the baud rate to 9600.
- Type 'H' or 'B' into the input field and send the data to the Arduino. You should see a response in the Serial Monitor.
Code Breakdown
In the setup() function, we initialize serial communication with Serial.begin(9600). The Serial.println() function sends a message to the serial monitor when the Arduino starts.
In the loop() function, the Arduino checks if any data has been sent using Serial.available(). If data is available, it reads it using Serial.read(), then prints the received character back to the serial monitor. Depending on the received character, it sends a specific response: 'H' for "Hello!" and 'B' for "Goodbye!"
Conclusion
This experiment introduces you to serial communication on the Arduino. Understanding serial communication is crucial for debugging, reading sensor values, and controlling your Arduino from a computer. Experiment with different inputs to expand your understanding of serial communication.
